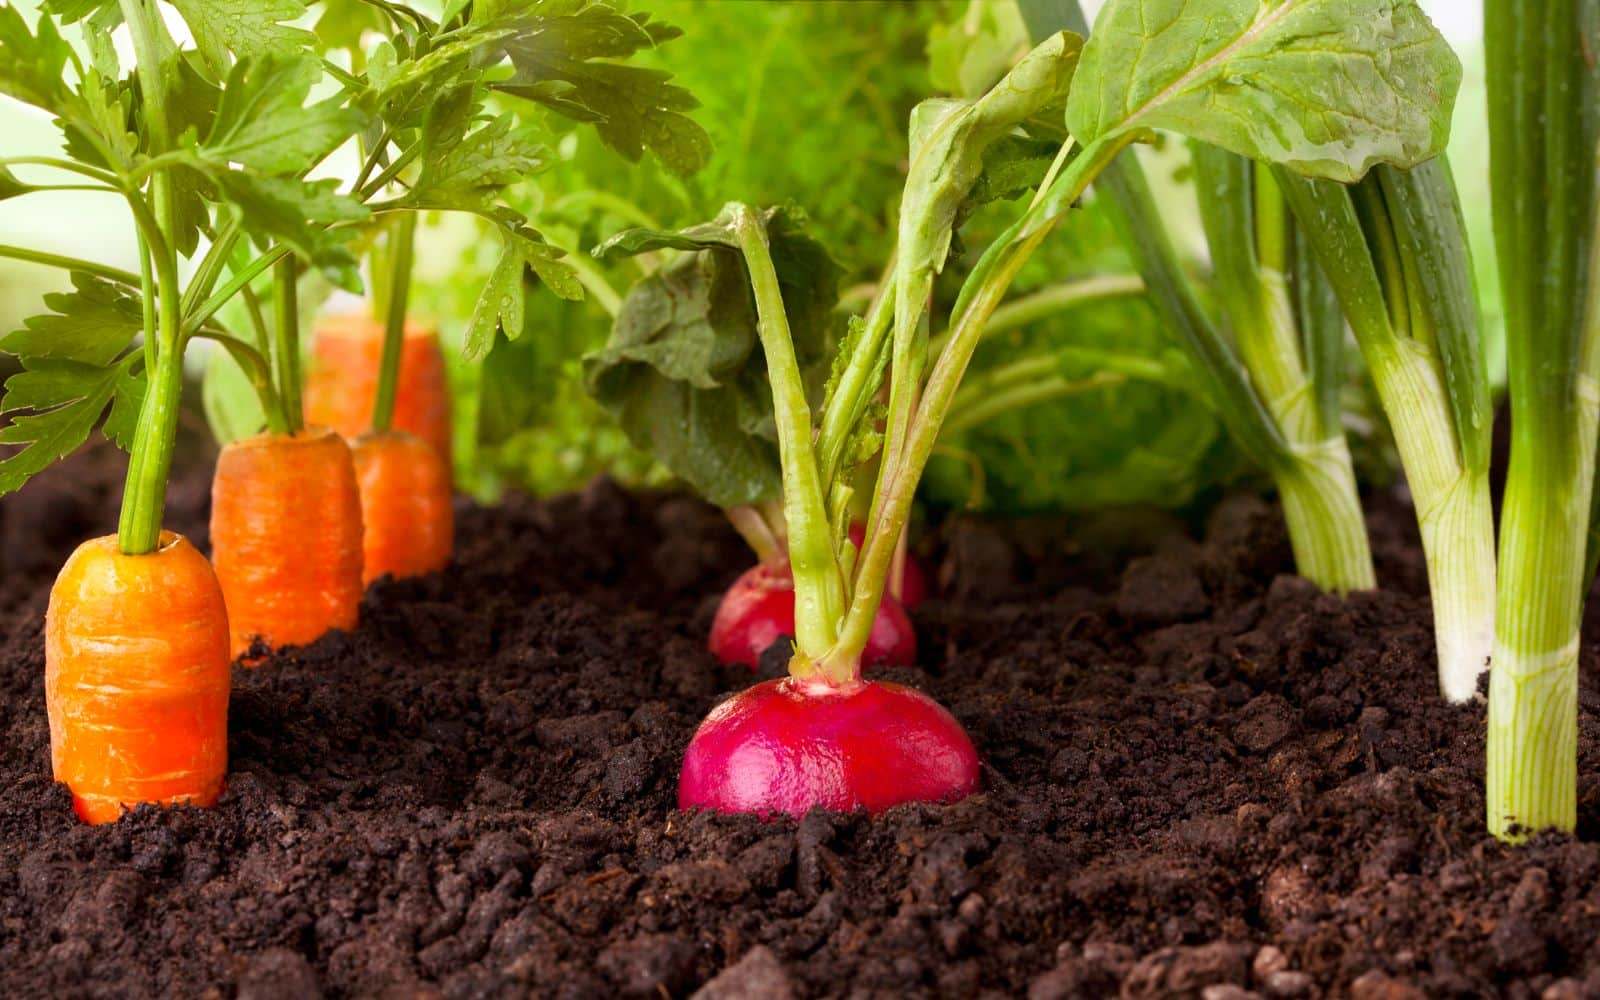
How to Get Started with Vegetable Gardening
You’ve read this far in this guide on how to get started with gardening and growing fruits. I’m sure you have understood the fundamentals to get started growing your food organically.
Now the organic gardening term may be something that you may have heard, and often it’s misused.
So, what does it mean to grow vegetables organically?
Organic gardening means you have a sufficient understanding of your garden soil, climate, and how your plant works. You work with them in a way that ensures that your garden and its produce are nutritious and free of harmful chemicals.
Are you ready to get started with that? Alright then, let’s go…
How to get started with a vegetable garden
Everybody gardens differently and uniquely. We all need to experiment a little to find which methods are most suitable for our temperament, site, and preferences.
Follow these steps when you are getting started with vegetable gardening.
List of Steps
Step 1: Locate the area that you want to grow and start cleaning it
Say what?!
Yup, you read that right. You should do this because it determines what you can grow in the area and increases successful growth.
Before you do anything else, the garden area must be cleared of perennial weeds such as dandelions, couch grass, bindweed, even horsetail.
It must be diligently cleared either by digging out their roots or by starving them of light. You can remove most perennial weeds if you’re thorough about it and allow sufficient time for mulching to work.
Before you dig over or mulch perennial weeds’ roots, it’s worth the effort to temporarily dig out any bushes or plants that you want to keep.
You can do the mulching to clear weeds. This is the simplest and easiest way of cleaning the soil. The mulch prevents the light from reaching the green leaves of weeds such as grasses, dandelions, and other weeds.
Mulching in the growing season, such as about March to October, is the most effective. Weeds’ continuing attempts to grow during this period are thwarted by the lack of light, which means that their roots become depleted more quickly.
If the primary weed is grass, mulching from January is worthwhile, and you could plant early-season vegetables by April.
Step 2: Prepare healthy soil
Let’s be clear; a healthy garden starts with healthy soil. Most crops want to grow in ground that’s rich, fertile, and well-drained. It’s more than likely that you may not have perfect soil to get started with vegetable gardening, and you may have to amend your soil.
For example, if the soil is too sandy, it lets water and nutrients drain away quickly. Too heavy and clay-like soil may drain poorly and makes it hard for roots to spread. The easiest and quickest way to amend soil is by adding compost.
Compost provides nutrients to the soil without damaging the soil structure. You can pile leaves, branches, or other garden trimmings at the corner that will eventually decompose with no intervention on your part.
However, it may take some time to produce the desired result as the natural decay process takes time. Fortunately, with a little effort, you can hasten the process considerably.
You can create optimum conditions for the organisms responsible for decay by giving them a mixture of air, water, and materials rich in carbon and nitrogen.
As a side benefit, composting also destroys many weeds and disease pathogens. You can often generate your compost, but they are also widely available from local garden stores if needed.
Step 3: Decide what to grow
You have to make some considerations when deciding what to grow. Most edible plants that you can grow fall into two categories.
Cool-season plants – it grows best when temperatures are cold – usually below 70 F
Warm-season plant – it grows best when temperatures are warm – usually above 65 F
Also, you need to factor in how much gardening experience you have. If you’re a beginner, start with quicker and easier vegetables such as salads and spinach.
Then factor in how big is growing space is. Some plants grow huge in just a few months and can take up large parts of a growing area, depriving their neighbors of light and moisture. Avoid these plants if your growing area is small.
Also, consider how much time commitment you have toward your edible garden. Things will go best if you grow plants that suit your ability to look after them. For example, salads and courgettes need constant attention compared to beetroot and broccoli.
Step 4: Check the growing season
Sowing at the right time is necessary for healthy plants. Colder and warmer seasons influence the plant’s growth.
This can also become confusing if you’re buying plant seeds or bulbs from retail stores that usually label only USDA hardiness zones. Those zones relate to cold and not hot weather.
Several other temperature-related factors can affect plant growth, including soil temperature, air temperature, and moisture in the environment.
Temperature affects when you can plant, when plants flower and fruit, and when you need to harvest fruits and vegetables.
The soil temperature is critical when you are ready for planting. You can buy an inexpensive soil thermometer to help you decide when to plant.
If you’re planting cool-season vegetables, it will germinate when the soil is at least 50 F. Most will sprout when the soil temperature is 50 F to 70 F.
Warm-season vegetables grow best when soil temperatures are at least 65 F. You can plant these when soil temperatures are lower, but the plants won’t grow.
Even in the summer, you will most likely need to help the soil get warm-up because of cold night temperatures. You can keep it warm by using black mulch or bricks that absorb heat during the day and release it at night.
Step 5: Planting your garden – seed or plant
When you’re shopping for vegetables to grow, you will have to choose between plants or seeds. Some seeds are labeled organic. These labels are on plants or seeds that have been produced or grown according to standards set that require growing without human-made chemicals.
It depends on your personal preference if you want to grow organic or non-organic plants. Usually, plants grown organically have a lower impact on the environment since it reduces harmful chemicals.
The next important thing you have to consider is whether you want to grow open-pollinated varieties or hybrids. If you’re going to save seeds to use next year, you need to grow open-pollinated varieties.
You may have heard the term ‘heirloom,’ which is similar to open-pollinated and often used interchangeably. However, they don’t mean the same thing.
Heirloom refers to a variety that was popular before 1930. Open-pollinated refers to a plant that produces the same characteristic of fruit when planted from its seed.
Hybrids are plants that grow from seeds produced by crossing two specific parent plants and saving the seeds. By crossing two plants, you get particular traits such as size, color, disease resistance, flavor, and more.
As a downside, seeds from the fruits of hybrid plants can be saved but will not produce plants identical to their parents.
PRO TIP
Selecting a disease-resistant plant. A plant that is resistant to a disease is easier to grow. You can buy plants and seeds with some level of resistance to common diseases affecting those types of plants. You can look at the following abbreviations on plant tags, labels, and catalog descriptions.
BCMV: Resistance to bean curly mosaic virus
CMV: Resistance to cucumber mosaic virus
FOC: Resistance to fusarium yellows
PM: Resistance to powdery mildew
PVY: Resistance to potato virus Y
TMV: Resistance to tobacco mosaic virus
ToMV: Resistance to tomato mosaic virus
TSWV: Resistance to tomato spotted wilt virus
V: Resistance to verticillium wilt
Should you seed or transplant vegetables?
Some plants can quickly grow from seeds, while others are easier to grow if purchased as transplants. You can use the following suggestion on what you should plant outside as transplants and what you can grow from seed.
Plants that should be grown from seed
Bean, carrot, chives, cucumber, dill, lettuce, okra, parsley, parsnip, onion, pea, pumpkin, radish, turning, watermelon.
Plants that should be transplanted
Basil, broccoli, brussels sprouts, cabbage, cauliflower, celery, collards, eggplant, kale, leek, pepper, spinach, swiss chard, tomato.
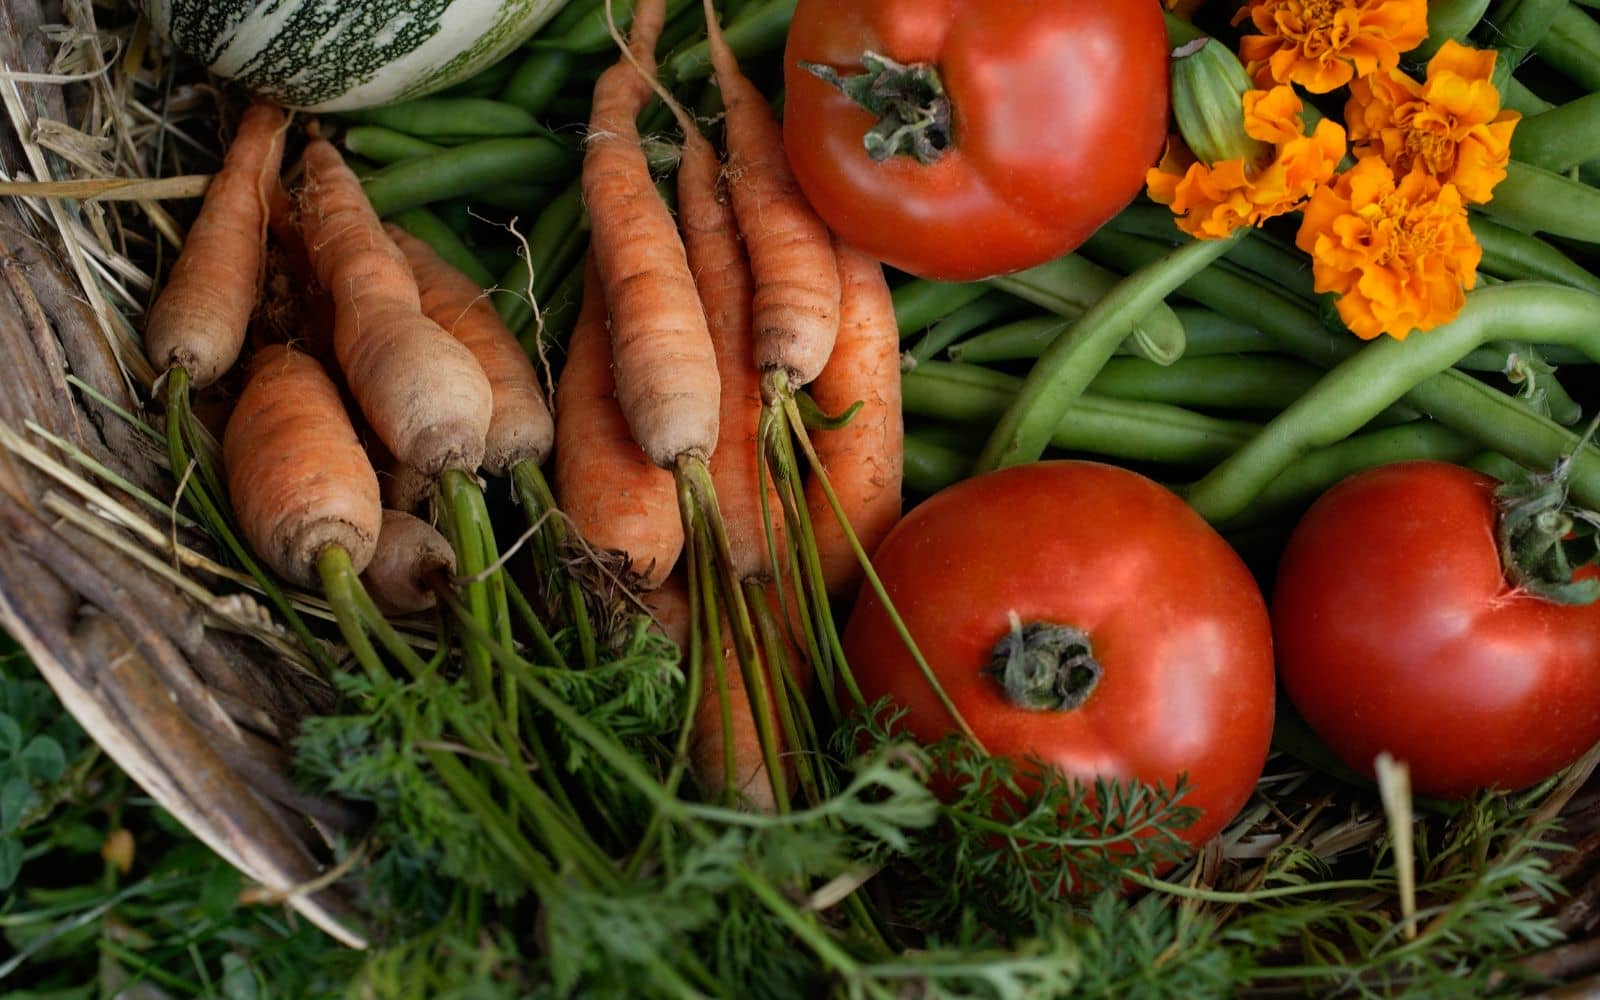
How to harden off transplants before planting
If you have a vegetable plant grown inside, it needs to be hardened off before you can plant outside. The hardening off means you have to get it acclimated to the change in temperature and light.
It’s a good idea to do so even if you buy plants sitting outside at a garden center. Here are steps to harden off transplants.
Step 1: For three to four days, place the plant in a sheltered location such as a porch or patio during the day and bring it inside at night.
Step 2: Leave them outside all day and night in the protected location for a week. Keep it regularly watered, so the soil does not get dry.
Step 3: Move the plant from a sheltered location to a more exposed area such as at the front sidewalk or driveways and leave it there for three or four days.
Step 4: Now, you’re ready to plant it permanently outdoor. If possible, plant it during the cloudy day or early morning to lower the plants’ stress.
If you’re planting seeds outdoor, ensure that seeds remain moist while germinating.
How to maintain a vegetable garden
After you have planted your vegetables, the hard part is over. Now you need to spend little time here and there to maintain the growth.
Here are some necessary steps you need to follow to maintain a vegetable garden.
Thinning
You may have to do thinning after you have planted seeds. This is because you often plant more seeds than you’ll need, and if most of it has sprouted, you may need to thin.
The thinning requires removing some of the plants in the row to open up space for the rest to grow. You can reduce the need for thinning by sowing seeds with a reasonable germination rate and sowing according to recommended final spacing for the plants.
This is more relevant to thin root vegetables such as radishes, carrots, turnips, beets, etc.
If you don’t thin them, you will end up with a lot of small roots instead of the fat, healthy and juicy roots. You can use scissors to snip the seedling off at the soil level.
Pinching
Vegetables such as tomatoes and peppers can be pinched to grow fewer but larger fruits. Pinching prevents plants from growing vigorously and transfers its energy toward fruits rather than leaves.
You can pinch the side shoots that grow directly between the plant’s stem and productive branches.
Watering
Watering is essential to have healthy and full-grown vegetables. Remember that you need to adequately water as over-watering can also be a detriment to plant growth. Vegetable plants produce well when they are happy and not stressed.
Providing either too much water or not enough water, or inconsistent water causes the plant to get stressed and increases the chance of getting infected by pests and disease.
You can water vegetables by hand or by using irrigation. When you are watering seedlings, it needs to stay continually moist while sprouting. As seeds don’t have reserves to fall back on, you need to check them at least twice a day to keep them moist.
You can also water vegetable plants using irrigation or a soaker hose. You should water all plants as deeply as possible and infrequently as possible without stressing them.
Provide enough water to let it soak at the top 6 to 8 inches of soil. When the ground gets dry again, you can water.
Weeding
It’s very natural for weeds to grow around the plant. You have to remove the weeds regularly, so it does not overwhelm the vegetable plant or take nutrients away.
Here are a few ways to deal with weeds.
- Use a pre-emergent herbicide to prevent weed seeds from sprouting. It may not work on perennial weeds.
- Hand-pull or dig weeds with manual weed remover
- Turn over the soil or rake under small weeds, and this technique works best for annual weeds
- You can use herbicide to kill the weeds
Learn to differentiate between weed and seedling. You have to be careful when removing weeds from growing seedlings as they both may look the same.
Fertilizing
Vegetable plants need regular fertilization to grow healthy and produce bigger fruits. Fertilization requirements depend on the plant you are growing and your overall nutrient level in the soil.
You can use compost to provide organic fertilization. Other options include blood meal or chemical-based fertilizer. When possible, use organic fertilizers as it offers long-term sustainable benefits to the soil.
Synthetic fertilizers provide quick nutrients to plants but don’t benefit the garden over time. When you are choosing a fertilizer, you have to consider the amount of nitrogen (N), phosphorous (P), and potassium (K) present.
Nitrogen(N): Promotes green leafy growth.
Phosphorous (P): Strengthens roots and flowers
Potassium(K): Helps with flavor and hardiness.
Some fertilizers have additional minerals and micronutrients added to it, such as calcium, magnesium, manganese, and iron. If you’re buying fertilizer from the garden center or retailers, read the label.
Fertilizer labels include an “analysis,” which is the percentage of each N-P-K nutrient concentration.
You can inspect your plant, and based on its appearance, you can determine the nutrient deficiency.
Here are some common symptoms of nutrient deficiency in vegetable plants.
Iron deficiency: The plant’s young leaves become yellow and white with green veins while the existing leaves remain green.
Nitrogen deficiency: Upper leaves become light green, whereas lower leaves are yellow. The bottom or older leaves are yellow and faded.
Manganese deficiency: Plant has yellow spots or elongated holes between veins.
Magnesium deficiency: Lower leaves turn yellow from outside going in. Veins remain green.
Calcium deficiency: The new leaves become distorted or stunted. Existing leaves remain green.
Potassium deficiency: Yellowing at the tips and edges, usually in younger leaves, Dead or yellow patches develop on leaves.
Carbon dioxide: White deposit on leaves. Stunted growth and plant dieback.
Phosphate deficiency: leaves are darker than usual and loss of leaves.
When you see nutrient deficiency problems in your vegetable plants, test the soil pH. If the pH is too high or too low, it won’t matter if you fertilize as the plants won’t get the soil’s nutrients.
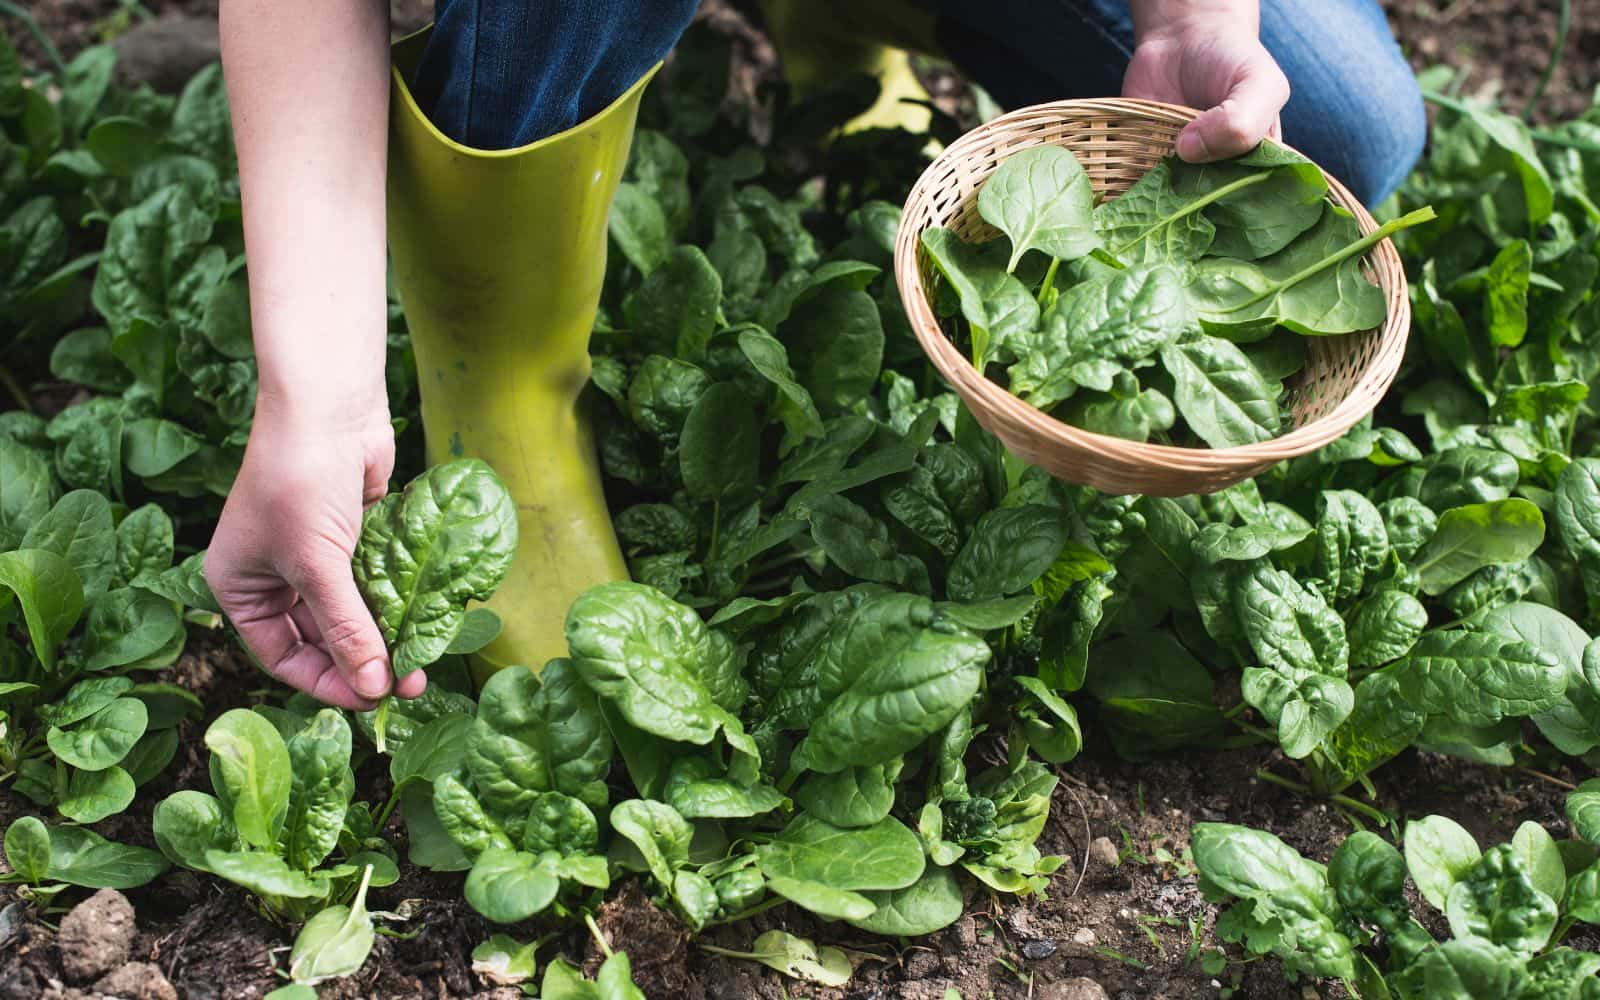
Should you choose conventional or synthetic liquid fertilizer?
There are so many options when it comes to choosing a fertilizer. The most common choice you have to make is between conventional or synthetic liquid fertilizer.
Synthetic liquid fertilizers have nitrogen, phosphorous, and potassium in them. These are formulated for different types of plants.
You can also buy houseplant fertilizers such as fertilizers for edible plants, acid-loving plants, and blooms and flowers. These fertilizers have higher levels of Phosphorous.
You can also buy conventional fertilizer in a concentrated liquid or powder form. In both cases, you need to mix the concentrate with water to dilute it before use. There are some brands of fertilizer that come with special attachments for mixing.
The main downside of synthetic fertilizers is that they have macronutrients such as nitrogen, phosphorous, and potassium. They will not help improve soil health over time.
What are the slow-release fertilizers, and when should you use it?
Slow-release fertilizer feeds plants over some time, usually three to five months. These come in different shapes and sizes pallets. The fertilizer nutrients are pelletized in a form that breaks down and releases nutrients to plants over time.
Slow-release fertilizers can also be combined with pre-emergent weed control in a “weed and feed” product. This provides the dual functionality of controlling weeds and cuts down the garden maintenance job in half.
Slow-release fertilizers include time-release synthetic products such as Osmocote and organic fertilizers. Their nutrients are typically released over two to four months.
The main benefit of using slow-release fertilizer is that you don’t have to apply it frequently. You can apply it at planting time and again two to three months later.
You need to pay particular attention to your overall vegetable plant health. If the leaves are turning purple or yellow color, they might have nutrient deficiencies. You then have to apply fertilizer to get a good yield.
Vegetables to Get Started: Easy to Grow
I bet you this; once you have eaten organic homegrown vegetables, you will not want to go back to store-bought vegetables.
Freshness is the main reason. When you pick your produce right before you use it, as opposed to a month before it’s going to be used, you can let it develop to its full ripeness and sweetness.
Here are seven popular vegetables that you can easily grow in your backyard and have a fresh supply of produce during the season.
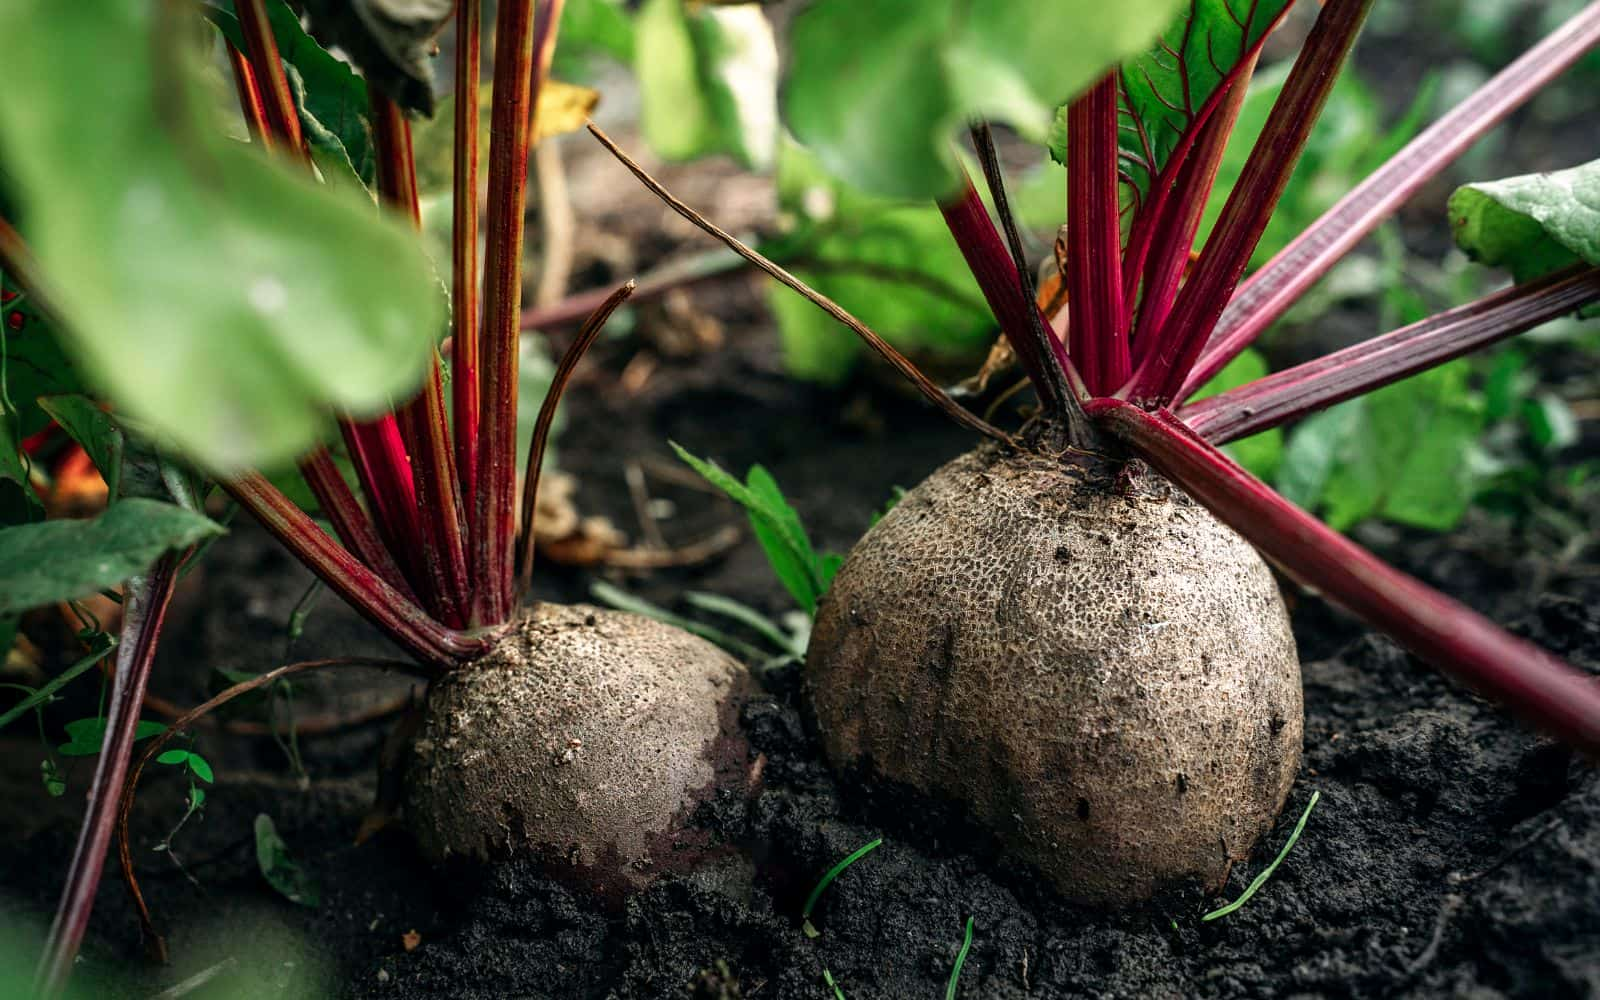
1. Beet (Beta Vulgaris)
Homegrown beet tastes several times better than the one bought from a grocery store. Beets are primarily a root crop. But you can use its top green leaves, also known as beet green, for cooking. These are tasty and nutritious.
Beets grow best when sown directly into the garden rather than planted as transplants. After harvesting, you can grate raw beets onto your salads. Beets come in different varieties such as red, white, yellow, and striped.
Recommended Varieties:
Ruby Queen, Early Wonder Tall Top, Red Ace, Pacemaker II, Detroit Dark Red.
When and where to plant:
Beet grows best at 55 F to 75 F soil temperature. You can plant it outside in March and April for spring/summer harvest and again in September and October for a fall and winter harvest.
Beets need deep, loose, fertile soil with a pH of 6 to 7 and need full sun. When planting outside, sow seeds that are 2 inches apart and ½ inch deep. Beets grown at the right time have fewer pest problems than beets planted late.
You can harvest beet greens for a salad while leaving roots to keep growing. You can use a scissor to cut no more than one-quarter of the leaves at any time.
2. Broccoli
Broccoli is full of nutrients as it contains several vitamins and minerals. Recent research has shown that eating raw broccoli helps prevent cancer.
Recommended Varieties:
Purple Sprouting, White Sprouting Late, Umpqua, Packman, and Belstar.
When and where to plant:
Broccoli grows best in the mild temperature of 50 F to 85 F. You can seed it indoors in January or February for transplanting outdoors in March and April. You can also sow seeds outdoor in the garden from April through July.
Broccoli can be grown in sandy or clay soil as long as the soil pH remains between 6 to 6.5. If the ground has a pH lower than 6, you can mix lime into the soil at least two months before planting. You can use a soil pH meter to test. It needs full sun to grow fully.
You can start seed indoors at least 40 days before you want to plant it outside. It takes 3 to 10 days to germinate and about a month to grow to a transplantable size.
You should not use compost for broccoli plants. It may cause diseases affecting your entire compost pile. You have to water it regularly to keep the plant moist evenly throughout the growing season. You can add compost to the soil before planting.
Broccoli and other cabbage family vegetables are susceptible to pests such as aphids, cabbage whites, cabbage loopers, flea beetles, and slugs.
You can plant pest-resistant varieties of broccoli and use floating row covers when insects are active. You can also use Neem oil and Bacillus thuringiensis (B.t) to control pests.
3. Carrot
You may have eaten carrots available from the grocery stores that have a bland taste. But in reality, carrots have a very sweet flavor, and you can grow it in your backyard.
Carrot is not hard to grow as long as you prepare the soil well and grow them at the right time of the year.
Recommended Varieties:
Danvers Half Long, Spartan Bonus, Scarlet Nates, Nevis, Apache, and Thumbelina. Little Finger carrot variety grows into 4 inches or less and is very soft and sweet to eat.
When and where to plant:
Carrot needs a mild soil temperature from 45 F to 85 F. You can sow carrot seeds from April through August when planting outdoor and May through July when planting indoor.
The soil has to be loose and free from rocks and debris to grow long and even carrot roots. If possible, try to grow carrots in raised garden beds.
It helps keep the soil remain loose and makes it easy to work on the ground by turning soil gently. Carrots need full sun to partial shade to grow optimally.
You should cover the orange tops of the carrot roots if they get exposed outside the soil. The sunlight exposure to roots will make them turn green or brown. You should also not add too much nitrogen-rich fertilizer as it makes carrots grow large tops and small roots.
You should keep the growing area free from weeds as carrots don’t compete well with weeds. While growing, keep soil evenly moist and thin carrots to 1 inch apart after they sprout.
It takes 60 to 75 days for a carrot to grow into maturity, and you can start harvesting them as soon as the roots turn orange, red, or yellow, depending on its variety.
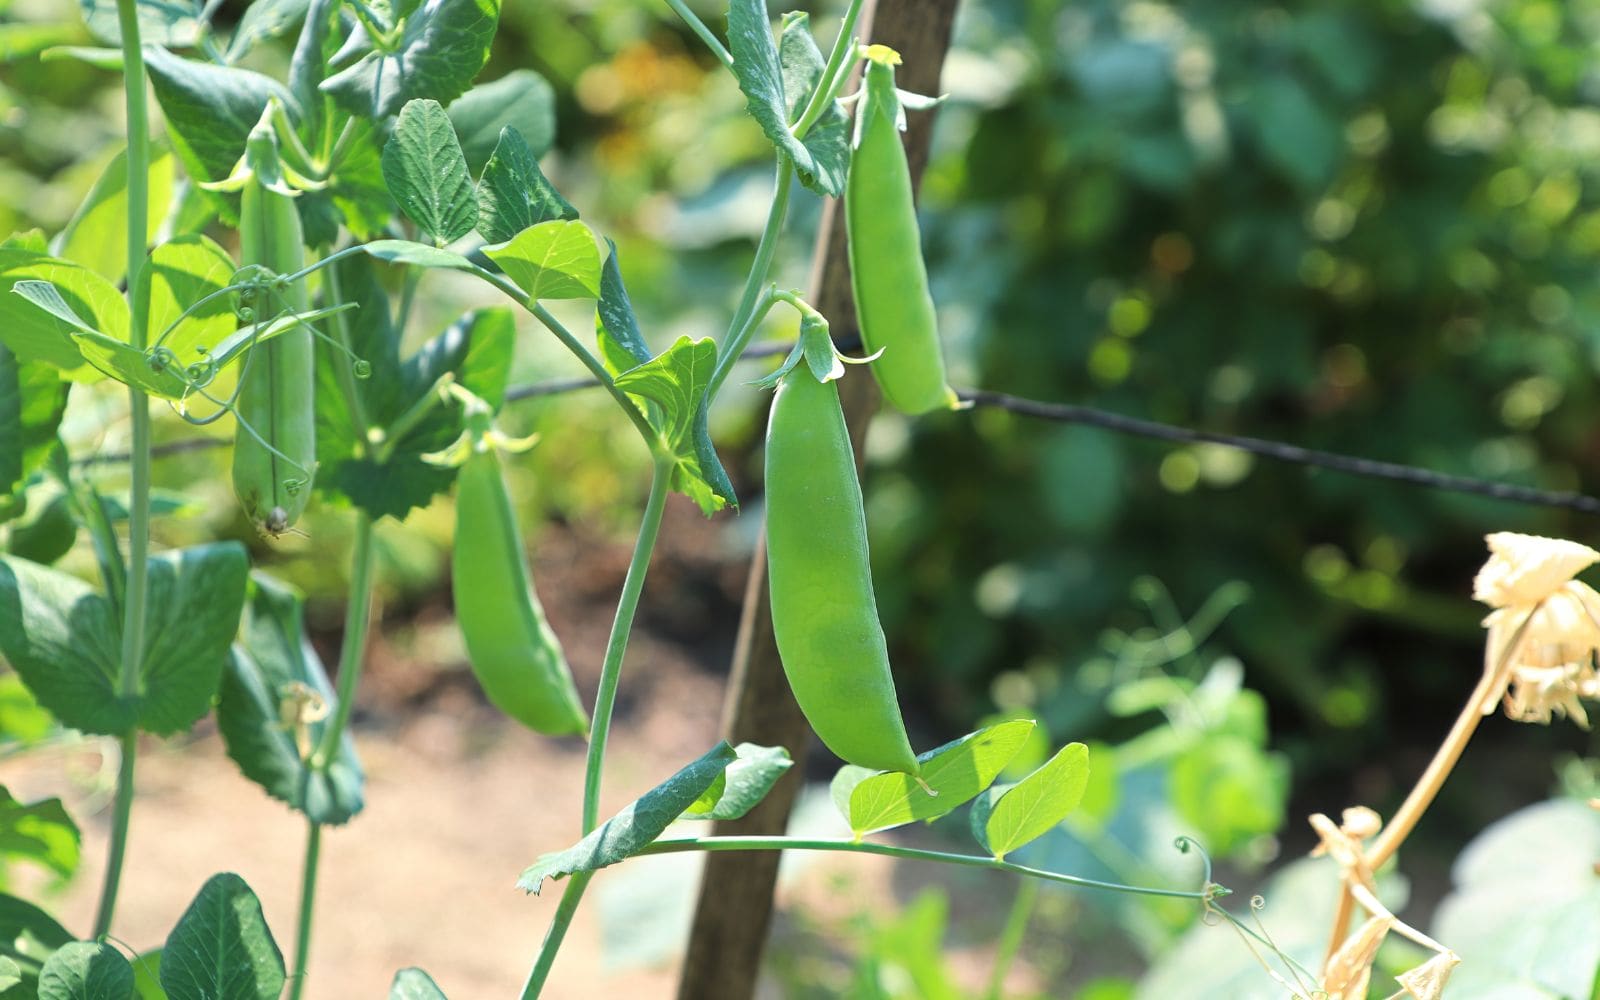
4. Pea
Homegrown peas are a delight at the dinner table. Some of the sugar levels of shop-bought peas will have been lost by the purchase time. But there will be no sugar loss at homegrown peas if you pick and cook within 10 minutes.
You can grow peas in fertile soil and should never sow when it’s cold and wet. You can water and care when necessary and keep birds away.
Recommended varieties:
Mangetout, Petit Pois, Asparagus Pea
When and where to plant:
Pea needs proper soil conditions to grow healthy. Under poor soil conditions, the yield will be very disappointing.
You should choose an open spot that has not grown for at least two seasons. Dig the soil in autumn or early winter, adding two buckets of well-rotted manure or compost into each sq m.
You can apply a light dressing of general-purpose fertilizer before sowing time. Water it regularly during the dry spell in summer. Apply a mulch of weedkiller-free grass clippings between the rows to conserve moisture.
To prevent the pest, spray the plants with pyrethrins 7 – 10 days after the start of flowering to avoid maggoty peas. A pod is ready for picking when it’s well-filled, but there is still a little air space between each pea.
You can start harvesting at this stage, beginning at the bottom of the stem and working upwards.
To dry peas, you can allow the pods to mature on the branches. In wet weather, lift the plants and hang them in bundles indoors until the pods are ripe.
5. Spinach
Spinach is a cool-season green grown for its leaves. It’s a long-day flowering plant, which means it stays vegetative during the short days of fall, winter, and spring. As soon as the temperature starts to warm up and the days lengthen, spinach will begin to bolt or flower.
Recommended varieties:
You can plant different types of spinach in the spring and fall.
For example, in spring, you can grow Melody, UniPack 151, Nordic IV, and Olympia. In fall, you can plant Space, Tyee, Winter Bloomsdale.
When and where to plant:
You can sow successive spinach plants to ensure a fresh harvest of soft young leaves over a more extended period. It germinates best when the temperature is around 45 F to 75 F.
You can plant the seed or transplant it outdoor in March and April and again in August and September.
A word of caution, spinach is partially hardy but can be affected by frosts. You can cover the plant with a frost cloth at a lower temperature forecast.
Spinach doesn’t need much water to grow. However, you should keep the soil evenly moist and avoid excessively wet or dry conditions.
Spinach needs lots of nutrients to grow and is a heavy fertilizer feeder. You can fertilize it every two weeks during the growing season. You can start harvesting spinach leaves three weeks after planting or when the plants have at least eight to ten leaves on them.
You can start by cutting the outer leaves first, always leaving six leaves on the plant to help it continue to grow. It’s best to use scissors or pinch off the leaves at the base.
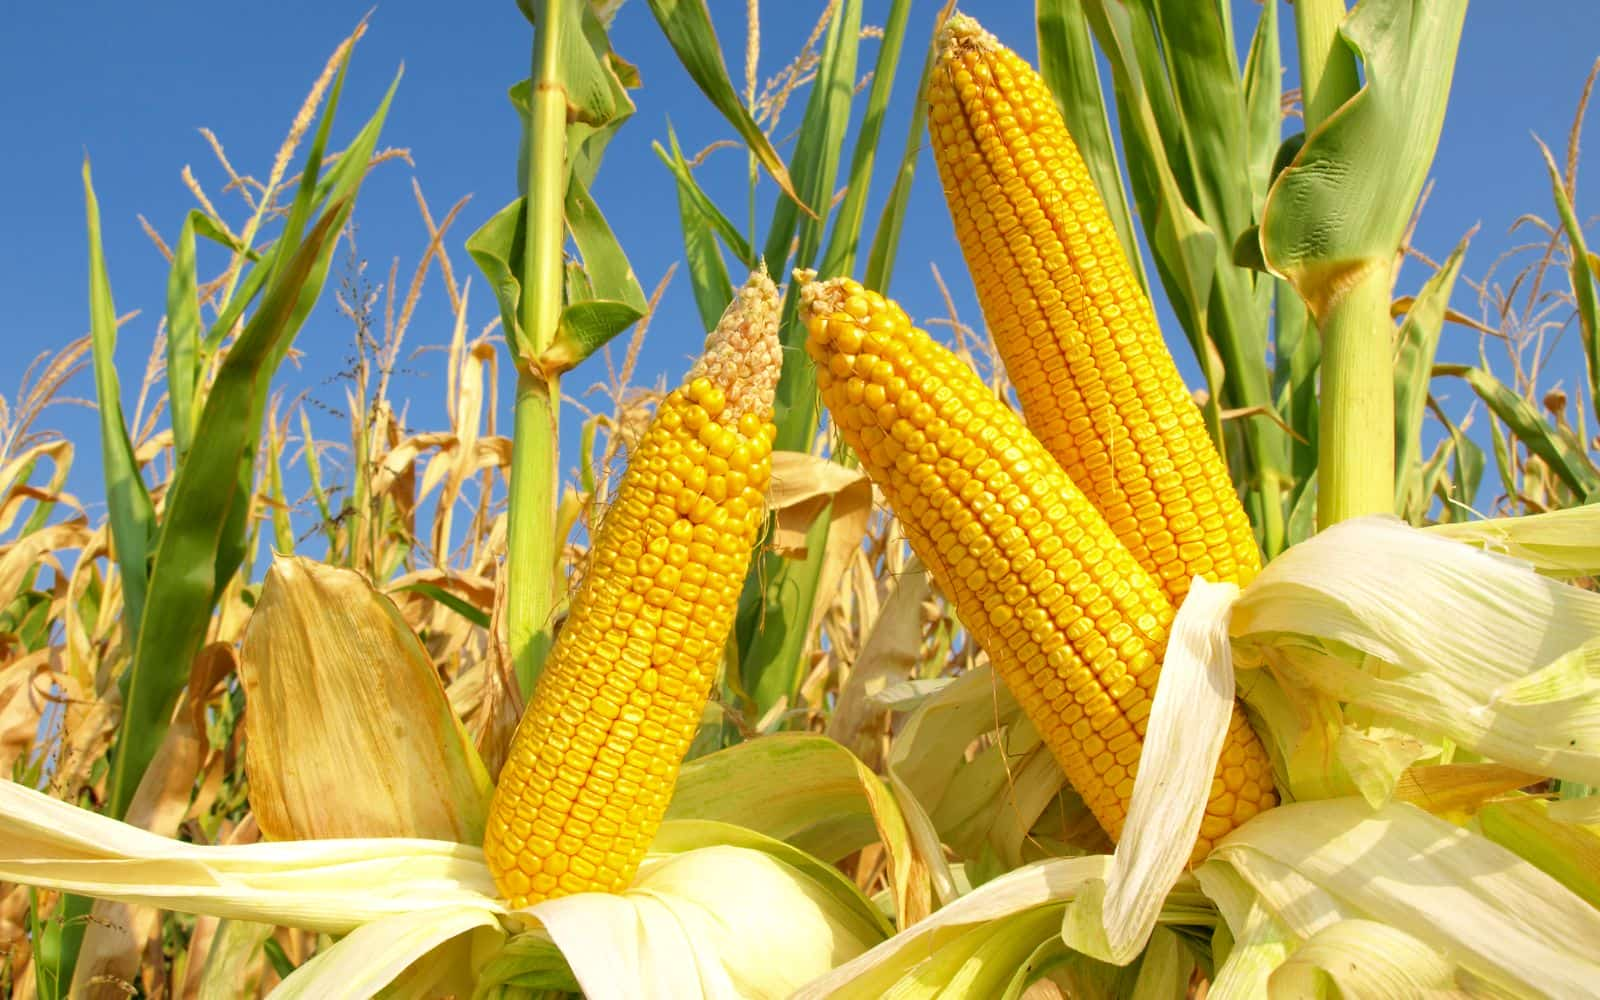
6. Corn
Corn is popular among growers and is native to North America. It’s in the grass family and started as a wild grass that becomes bred for larger “ears,” which hold the seed.
Corn is easy to grow and is wind-pollinated. This is why it’s important to plant it closely.
Recommended varieties:
Bodacious, Ruby Queen, Sugar Dots, Silver Queen, Peaches, and Cream
When and where to plant:
Corn grows well in mildly warm weather conditions. It likes when the soil temperature remains above 60 F, which usually happens during summer in early June.
If you grew peas in spring, you could plant corn in the same place. It will benefit from the nitrogen fixed by the pea in the soil.
You can add compost to the soil and also add slow-release organic fertilizer to provide nutrients as it grows. Corn needs full sun to grow. Plant it in an area where large trees won’t obstruct it.
Corn needs consistent moisture through the growing season. It needs more moisture when it starts to flower. If there is not enough moisture in the soil, the leaves begin to roll up and give a dry appearance.
Sweet corn becomes ready to harvest when the juice that squirts from a kerned pierced by a fingernail is milky white. You can start checking the corn after the hairs on the ears begin to turn brown.
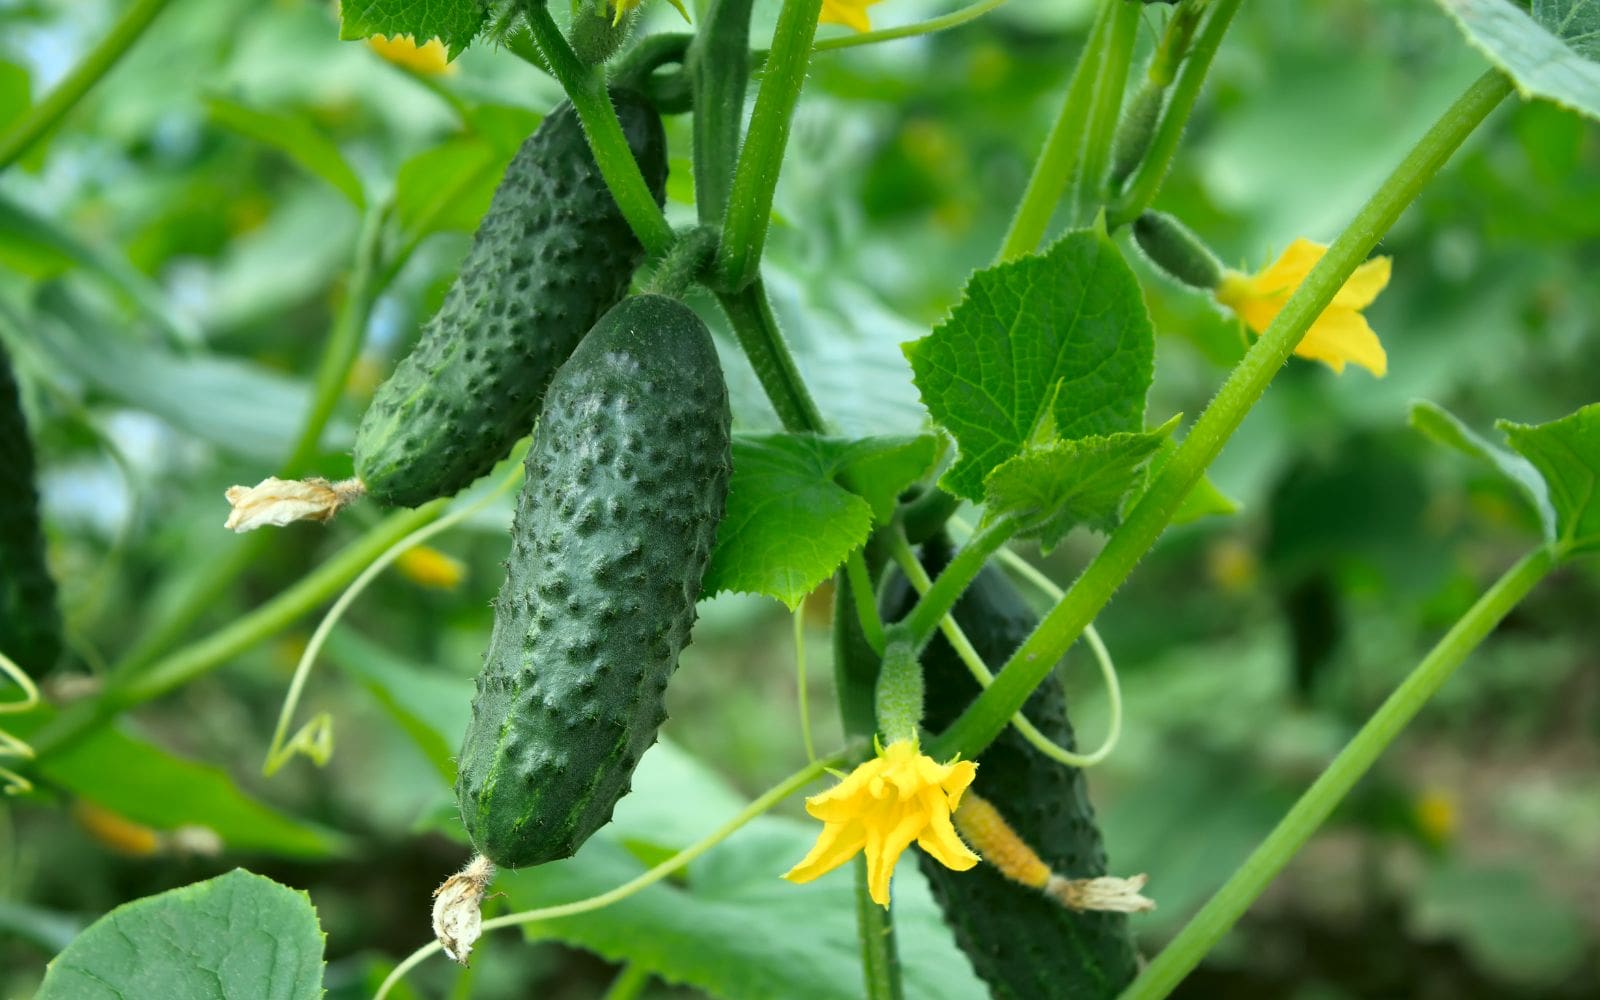
7. Cucumber
Cucumber is a water-rich warm-season vining vegetable part of the squash family. There are different types of cucumber available in the market, depending on texture and size.
Recommended varieties:
Sweet slice, Sweet success, Sweet Burples, Calypso, Cool Breeze, Patio Pickle, and Orient express
When and where to plant:
Cucumber should be planted when the frost has passed. It likes a mild temperature when the soil temperature is over 60 F. You can sow it later in May or early June.
It grows best when trained to grow up a trellis on a dark-colored wall and benefit most from black plastic mulch.
So far you have learned how to grow fruit and vegetable plants in your garden. These are not only full of nutrients but also bloom flowers that can be used as decoration to your garden.
But you don’t want to plant them anywhere without proper thought. You still have to make sure that you understand some gardening design principles and come up with a garden design plan.
Something that will make your garden stand out. Something that is well thought and provides a relaxing atmosphere around your home.
What Next?
Landscaping and Designing a Home Garden
Next, we’re going to show you:
- Understand the landscape and design fundamentals
- Landscaping design ideas and tips
- How to correctly partition your garden to make it stand out
- Which garden plants to grow for colours?
- What types of plants to use when designing a garden?
- How you can care for newly purchased plants

