Amazon has put together some great Home Gift Deals – save money and get your shopping done at the comfort of your home! Click here to see deals on Amazon
When you have a garden, you get lots of organic waste such as fruits, vegetables, plant leaves, and branches. Rather than throwing it out into landfills, you can turn it into environmentally friendly compost to reuse.
Now you may have heard about it before or maybe even tried it yourself without much success. But many people do not get composting right. This is due to the misconception that you can compost anything rather than throw it in a landfill.
That is the wrong approach, and in this article, you will get all the information you need to get started with composting (the right way).
What is Composting?
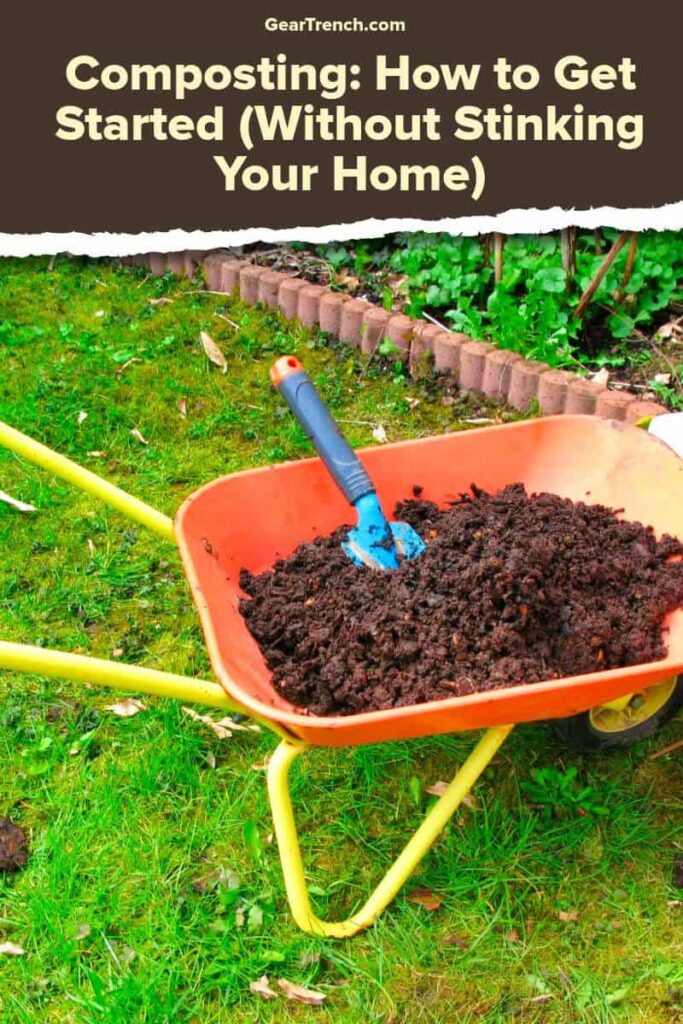
Composting is a process where microorganisms such as bacteria, fungi, and worms decompose food and plant materials. The decomposed organic waste turns into compost to be used for your garden and plants.
For the long-term health of your soil, compost works as a natural organic fertilizer. Making a compost heap is cheap and enviro-friendly.
Most of the things you compost are home waste such as food, and yard waste such as leaves, tree branches, and grass.
What Things Do You Need To Make Compost?
Compost is a biological phenomenon as it involves the use of microorganisms to break down organic particles. These microorganisms such as bacteria, fungi, and enzymes thrive in a specific environment.
Maintaining the ideal setting for these microorganisms fasten the decomposition process. It is a must if you want to get your compost ready in a couple of weeks rather than wait for months.
You need the following components to make a favorable condition for microorganisms.
Brown and Green Ratio (C:N ratio)
The brown and green ratio indicates the compost ratio of carbon and nitrogen-rich waste products.
Carbon is a building block of organic materials and is generally found in brown color organic waste. Leaves, rotten hay, cornstalks, and small twigs are carbon-rich organic wastes and also happen to be brown in color. Carbon gives the energy to these microorganisms to munch on these organic wastes.
Nitrogen is a source of protein to the microorganism which makes them durable. It is often found in green color organic wastes such as vegetables, kitchen leftovers, fresh grass clipping, and seaweeds.
The proper carbon and nitrogen compost ratio are also known as the “Brown and Green ratio” is essential for composting. You want the carbon to nitrogen ratio to be 30 to 1 to create a favorable composting condition.
To err at a side of caution, you can add more carbon than nitrogen. As low carbon will not give you good compost quality. As a rule of thumb, your compost should have two parts of brown to one part of green.
Moisture
You need to keep the compost moist but not wet. Ventilation and mixing will help dry out a soggy pile – as will the addition of more brown material.
Keep your compost pile covered during rain. If possible, use un-chlorinated water when you have to add water.
Temperature
Microorganism survives at an ideal temperature range of 130 to 150-degree Fahrenheit. Most of the time weight of the compost maintains that temperature range itself. But sometimes with weather changes when it is colder outside, you need to add a bit of dirt to the compost to insulate the heat.
At this temperature range, any diseased plants and insects die, and microorganism starts their work. The heat also helps the fibers of organic waste to break down easier and speed up the decomposition process.
Air
Microorganisms need oxygen to survive to keep the composting process going. As you pile up more waste, the weight of garbage compresses the compost heap which causes poor airflow inside the compost pile. You may have to turn and move the compost around to circulate the air around.
What food can go into a compost bin?
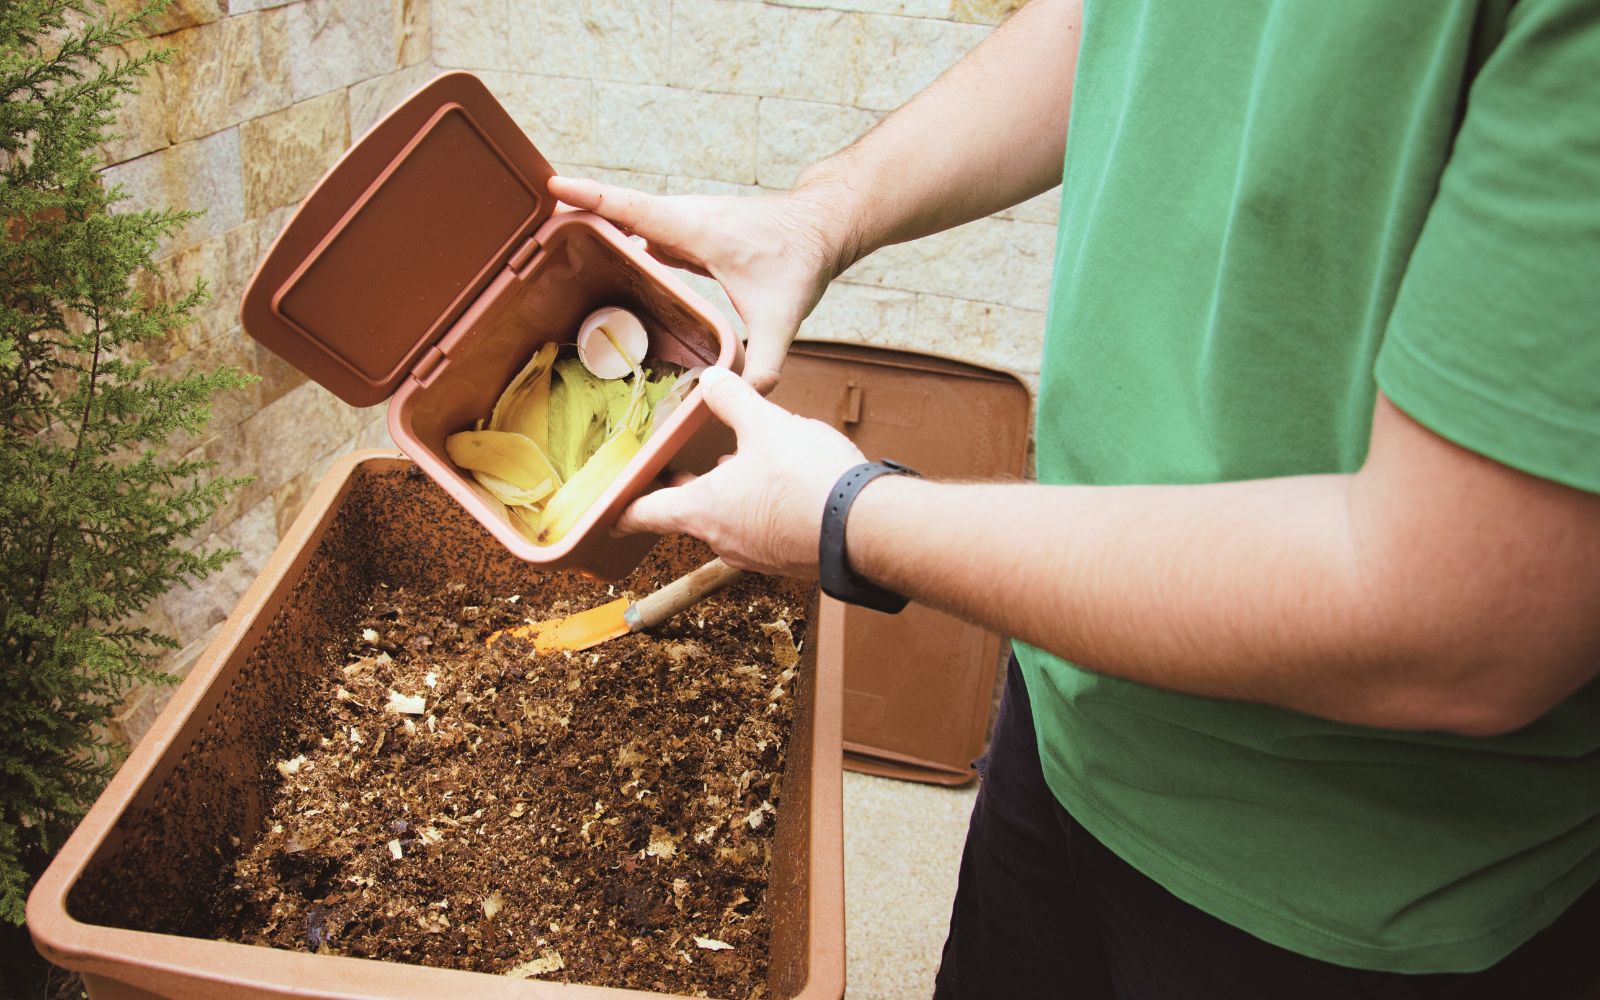
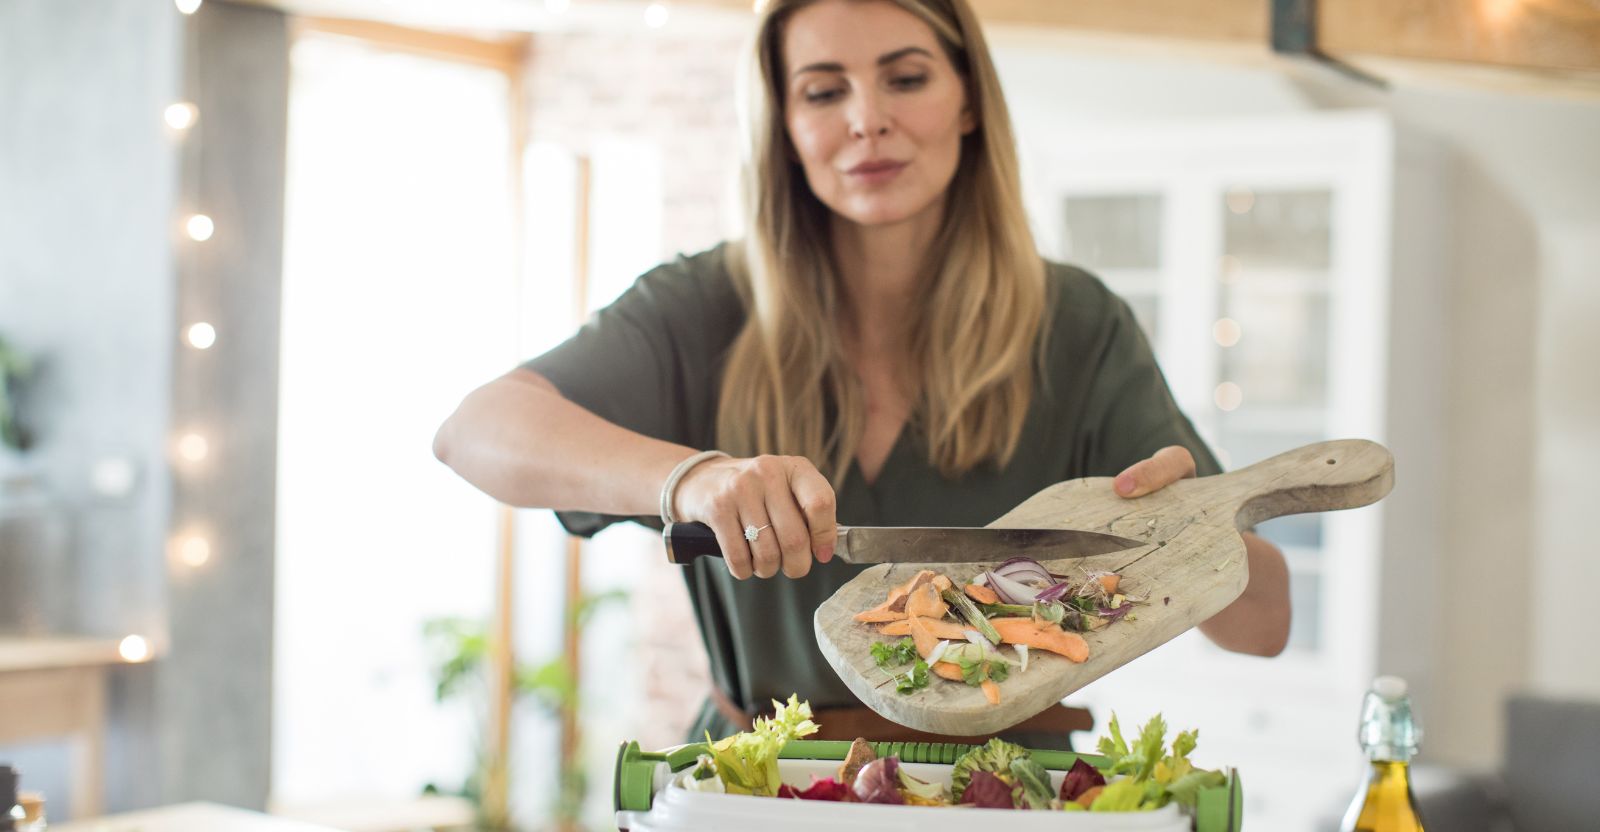
You can compost most items that are high in carbon and nitrogen. Many people use left-over food to compost.
Some of the most common items you can compost are:
- Leftover veggies
- Bread
- Leaves
- Grass clippings
- Straw
- Spent plants
- Pruned branches
- Paper bags and napkins
- Uncoated food-soiled paper
- Flower and houseplants
What NOT to put in a compost bin?
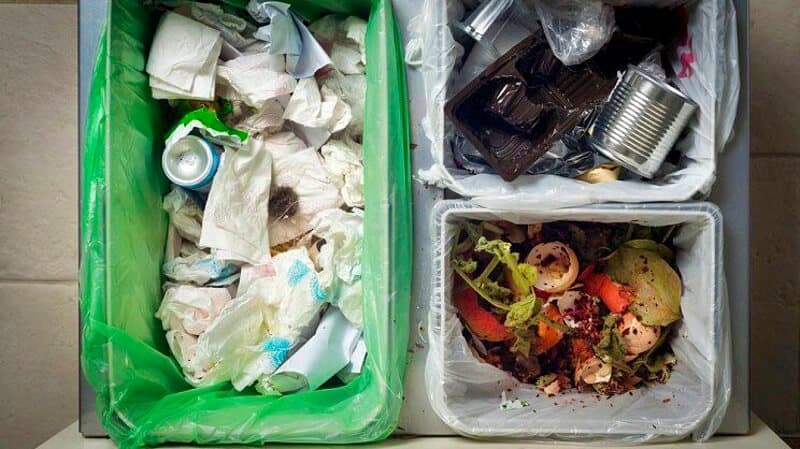
High fats and diseased plants should not be composted. High fats items are challenging to get broken down and turn acidic which makes them smell bad.
Do not compost meat, dairy products, animal waste, bones, or shells from seafood. These items may attract animals and other pests. Also, these items create a horrible smell.
Common foods you should not compost:
- Cooking oil
- Butter
- Animal feces
- Meats
- Coash ash
- Newspaper and cardboard
- Weeds with seeds
- Diseased plants
Let’s talk about composting benefits.
Benefits of composting
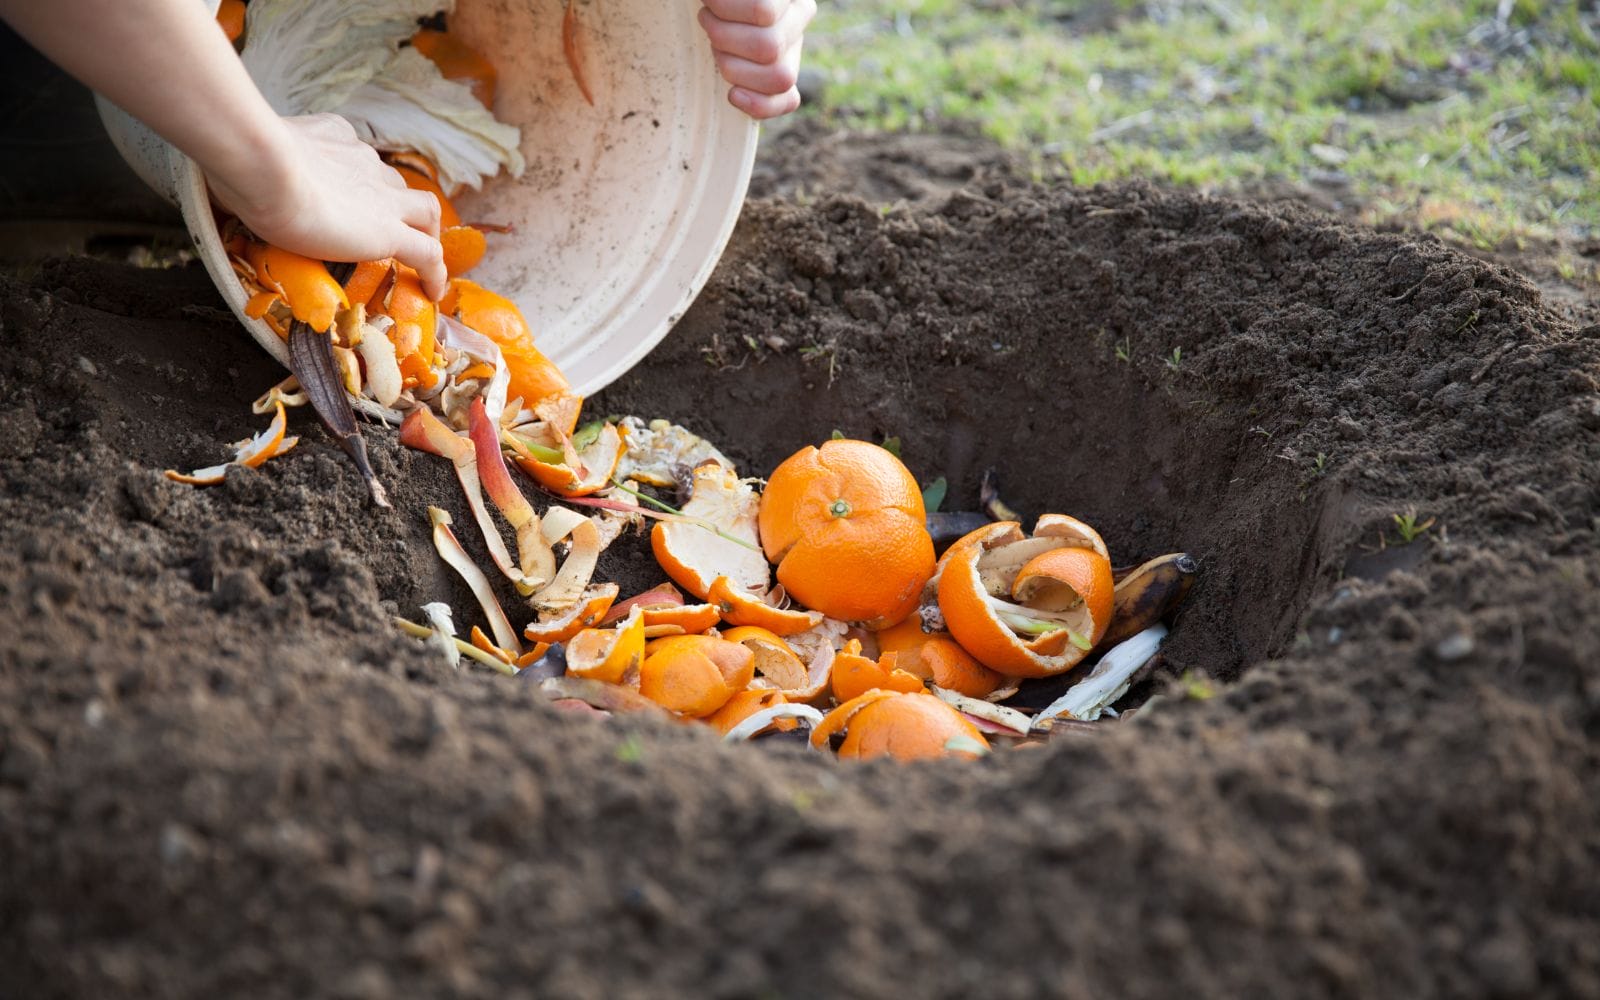
There are many benefits to composting. Some of the most common benefits are:
Enrich garden soil
Compost mixture enriches the nutrient-poor soil and improves the health of plants in flowers and vegetable gardens. You can use it in containers as long as it’s mixed with peat moss.
Kitchen and Yard Recycle
You can recycle up to 30% of kitchen and yard waste by turning it into compost. This is also enviro-friendly as composting reduces turning these wastes into methane-producing gas if you dump it into a landfill.
It happens because landfills do not have a proper environment for organic materials to decompose. The lack of oxygen in landfills produces methane gas which causes global warming. You can also cut food waste that can end up in landfills.
Alternative to Chemical fertilizers
Many people rely on chemical fertilizers to increase their plant yields. Although the chemical fertilizers increase the plant yield for the short term, it damages the topsoil. An excellent alternative to chemical fertilizers is the compost mixture.
Compost is a natural fertilizer, and it organically improves the compost soil quality to grow healthy plants and vegetables. When deciding between organic compost vs fertilizer, pick the compost.
Gradual Release of Nutrients
Compost when spread over the soil starts the slow process of release of nutrients in the ground. This makes the plants take the most use of these nutrients for a more extended period.
It is different than chemical fertilizers which give an immediate boost in the fertility of the soil but then decline quickly.
Save money
It diverts the items you have to throw in the landfill which costs money. By recycling waste at home, you will have fewer things to dump in landfills which means lower landfill bills.
Prevent Soil Erosion
Composting allows the plants to spread their roots too much longer distances. These roots act as a barrier and compact the soil density which reduces soil erosion.
Improve Soil Fertility
Composting helps the soil to maintain the pH level. Soil can be either acidic or alkaline, and this has a considerable impact on the plant’s ability to take certain nutrients. The pH scale measures the acidity or alkaline level in the soil.
The pH scale ranges from 0 to 14 from acidic to alkaline. Plants grow at a neutral range of 7. Composting brings the compost soil pH level back to this neutral range which improves the fertility of the soil.
Stimulates Microorganism
Many other beneficial insects such as earthworms, bacteria, and fungus thrive on the compost. These microorganisms are essential to provide nutrients to the plants and also to contain any disease or illness to the plants.
Methods of Composting
Before you start collecting your organic waste, you need to consider the types of compost to create. It depends on the purpose of composting and how much amount you will need to compost.
People with large gardens get plenty of organic matter such as leaves, grass clippings, and pruned branches. For these people’s open space, large volume composting may be more practical.
But for city dwellers, where they do not have a big garden then their compost will be mostly from food wastes. Smaller indoor composting may be more practical for people with little space.
So, depending on your needs, there are different types of composting:
Indoor Composting
Indoor composting such as Vermicomposting and Bokashi composting are popular among people with limited space.
Vermicomposting uses small worms in the composting process to break down organic compounds. It is effortless and handy as you can do this as an indoor composting for smaller spaces. Indoor composting also allows you to compost year-round as you can easily control the temperature.
Another benefit of indoor composting is that you can also compost meat and dairy which is not advisable for outdoor composting. This is because the worms help break down the sturdy organic materials which microorganisms alone may not be able to do so.
Due to its portability, it is ideal for people living in apartments and offices. The worms are sensitive to the temperature change but being indoor it is far easier to control the temperature.
Open Air Composting
Open-air composting is also known as aerobic composting. It is one of the easiest and popular composting processes due to its low requirements. In this, you put together your compost ingredients in a pile and wait for them to decompose.
The drawback of open-air composting is the possibility of generating a lousy smell due to rotting materials. Moreover, there is also a limit on what you can and cannot compost.
Closed Air Composting
Composting in the absence of air is also known as anaerobic composting. In this, the compost material is put together in one tight air-sealed container which keeps the oxygen out.
The closed air composting prevents the bad smell and also break-down most of the milk and dairy products. The milk and dairy product do not compost in open-air composting. The downside of closed air composting is that it needs extra tools such as containers for composting.
The compost produced by closed air composting is acidic which may not be suitable for the plants. You have to change the pH level of your soil to make it fertile before you use it on your plants. It also produces methane gas which causes global warming.
Aerated Composting
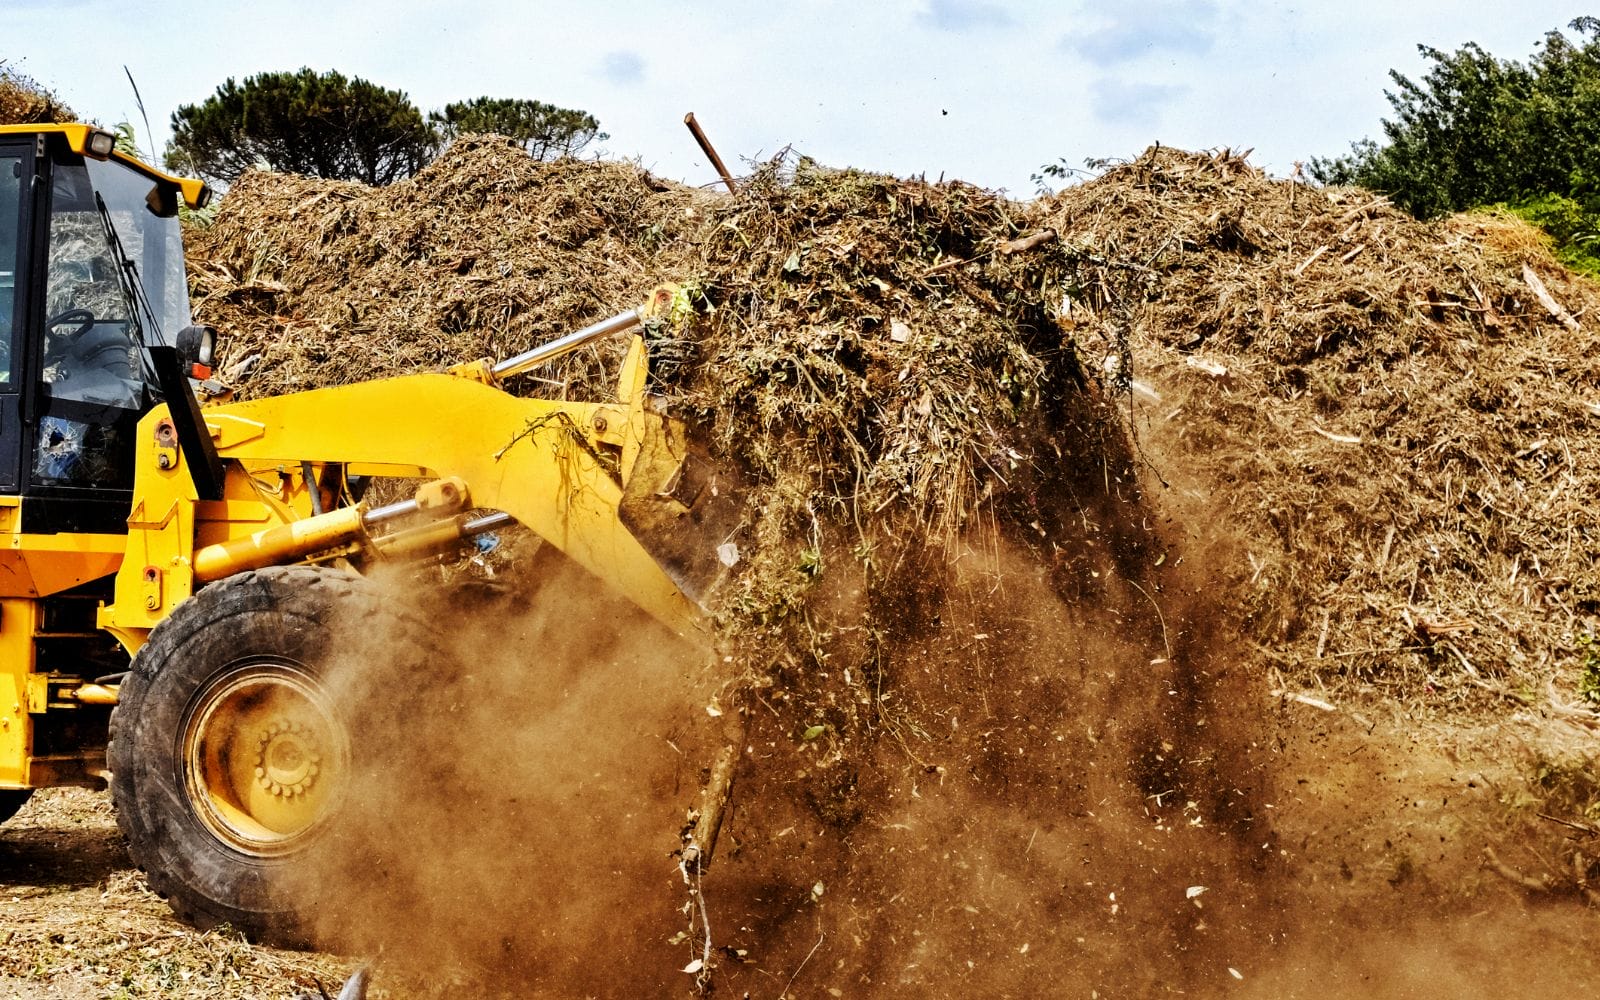
Municipalities, food processing plants, and sometimes large restaurants use aerated composting. It requires more manpower and heavy-duty machinery to produce compost.
But due to the large volume of organic waste and the need to make quick compost the aerated composting is used. In aerated composting, the organic waste is put together in a long pile, mixed, and then turned over periodically to let air pass through compost.
Static Pile Composting
Static pile composting is recommended for less mix and more standard type of organic waste. These types of stable waste come from landscapers and farm owners who have more green plants.
Animal by-products or fatty oil wastes are not processed in static pile composting. The organic waste is collected in a large pile while making enough gap to let air pass from the compost.
The temperature is maintained either by increasing the weight of the organic waste or by blowing air into the compost pile. This speeds up the process and compost to get ready in three to six months.
Temperature Controlled Composting
Hot or cold composting is the most flexible way of temperature-controlled composting. It generally requires more work as you have to control the temperature carefully. But it gives you more control as you can speed up or slow down the composting process.
Process Composting
The process composting consists of making compost either in batch or in a continuous process.
In batch composting, you make a single batch of compost depending on the type and quality of organic waste. Once you make the compost pile, you do not mix it with other types of garbage. Depending on the types of materials and conditions you maintained you get a homogenous mix of compost.
In continuous composting, the compost material is continuously added on top of each other. It creates several different layers of compost. The compost is not turned around much to avoid mixing different layers of compost.
The bottom pile is taken out as compost layers get ready. The next layer is kept in the composting process until it gets available. It needs less involvement as you don’t have to do much except add water to it.
Depending on your needs you can either choose batch or continuous composting. But batch compost needs close monitoring and turning to keep air flowing. Whereas the continuous composting required small turning and less involvement.
Tools for Composting
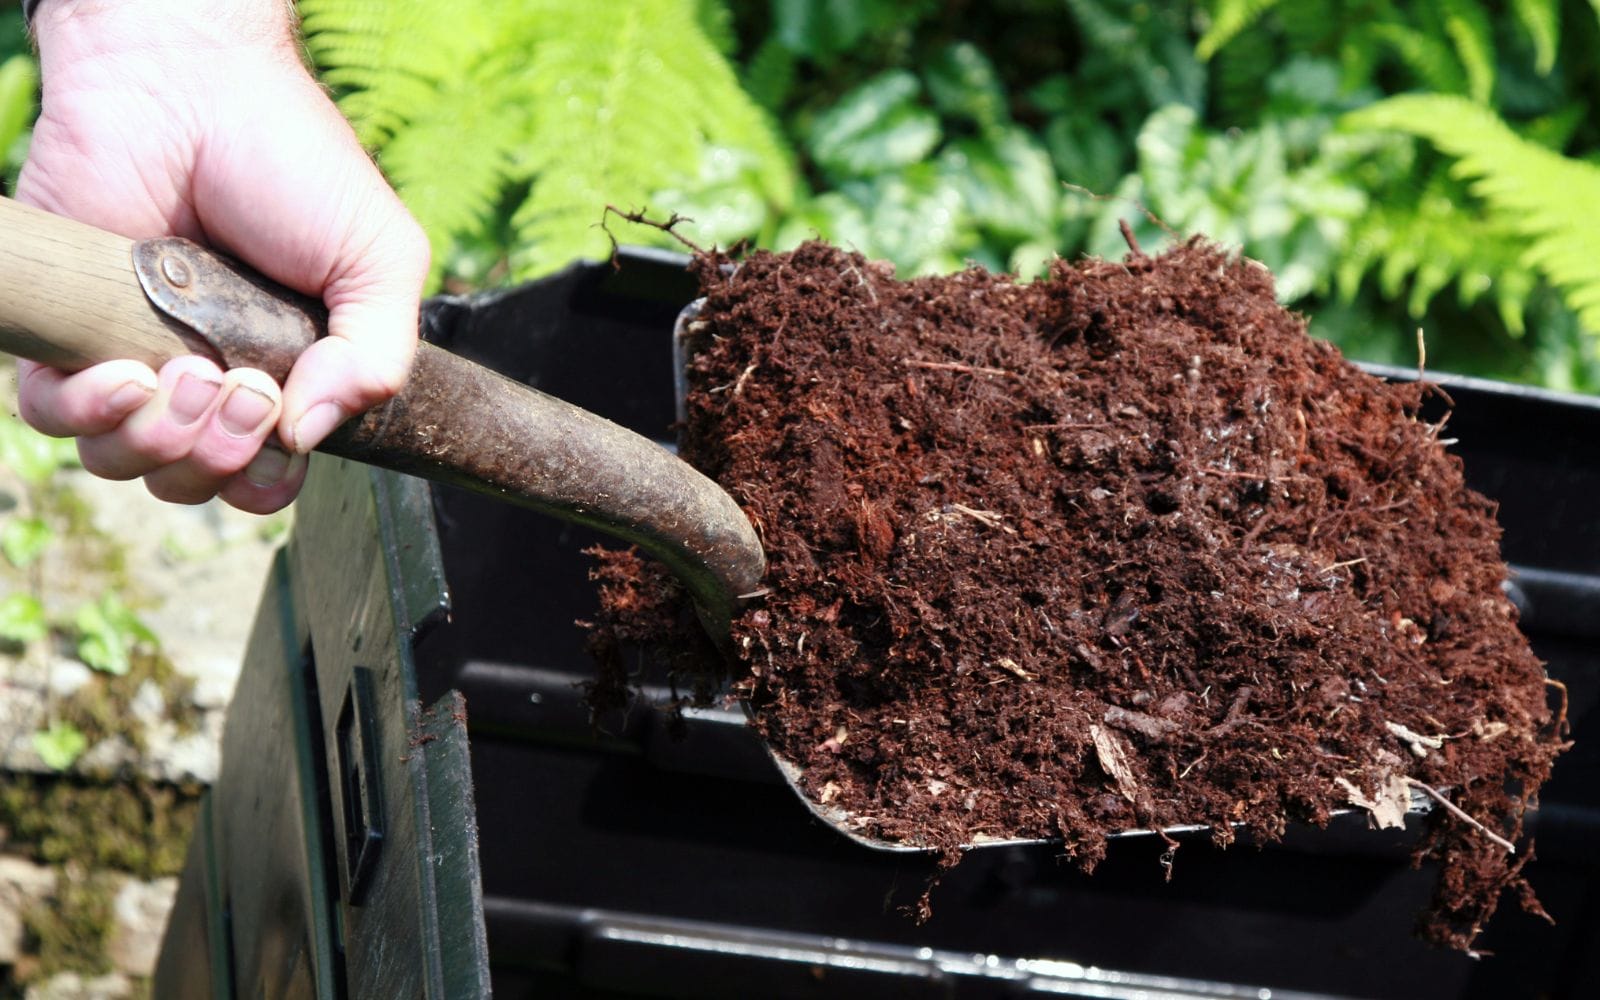
Depending on the kind of composting, you may need some tools such as containers, or particular bins to aerate the compost.
Here is a list of tools you may need for your compost:
Biodegradable Bags
When you are composting yard leaves, grass, and pruned branches, don’t toss these into plastic bags. Plastic bags do not biodegrade and it will slow down your composting process.
You want to use biodegradable bags which are easier to handle and degrade with the compost. This is beneficial as you won’t have to move or take out any leftover of the bag when you are ready to use fertilizer.
Shovel for Pit Composting
For pit composting, you need to dig holes or trenches to bury your waste. This is for outdoor composting, but once the pit is ready, there is not much work to do afterward.
The pit composting is appealing as the decomposing matters remain out of sight. It is more convenient to dig a pitch and get your compost ready but taking the compost out needs some work.
To get the most out of pit composting, try to dig a hole in the area where you will be using compost. Don’t dig too deep but if possible, create many shallow pits.
Open Bin Composting
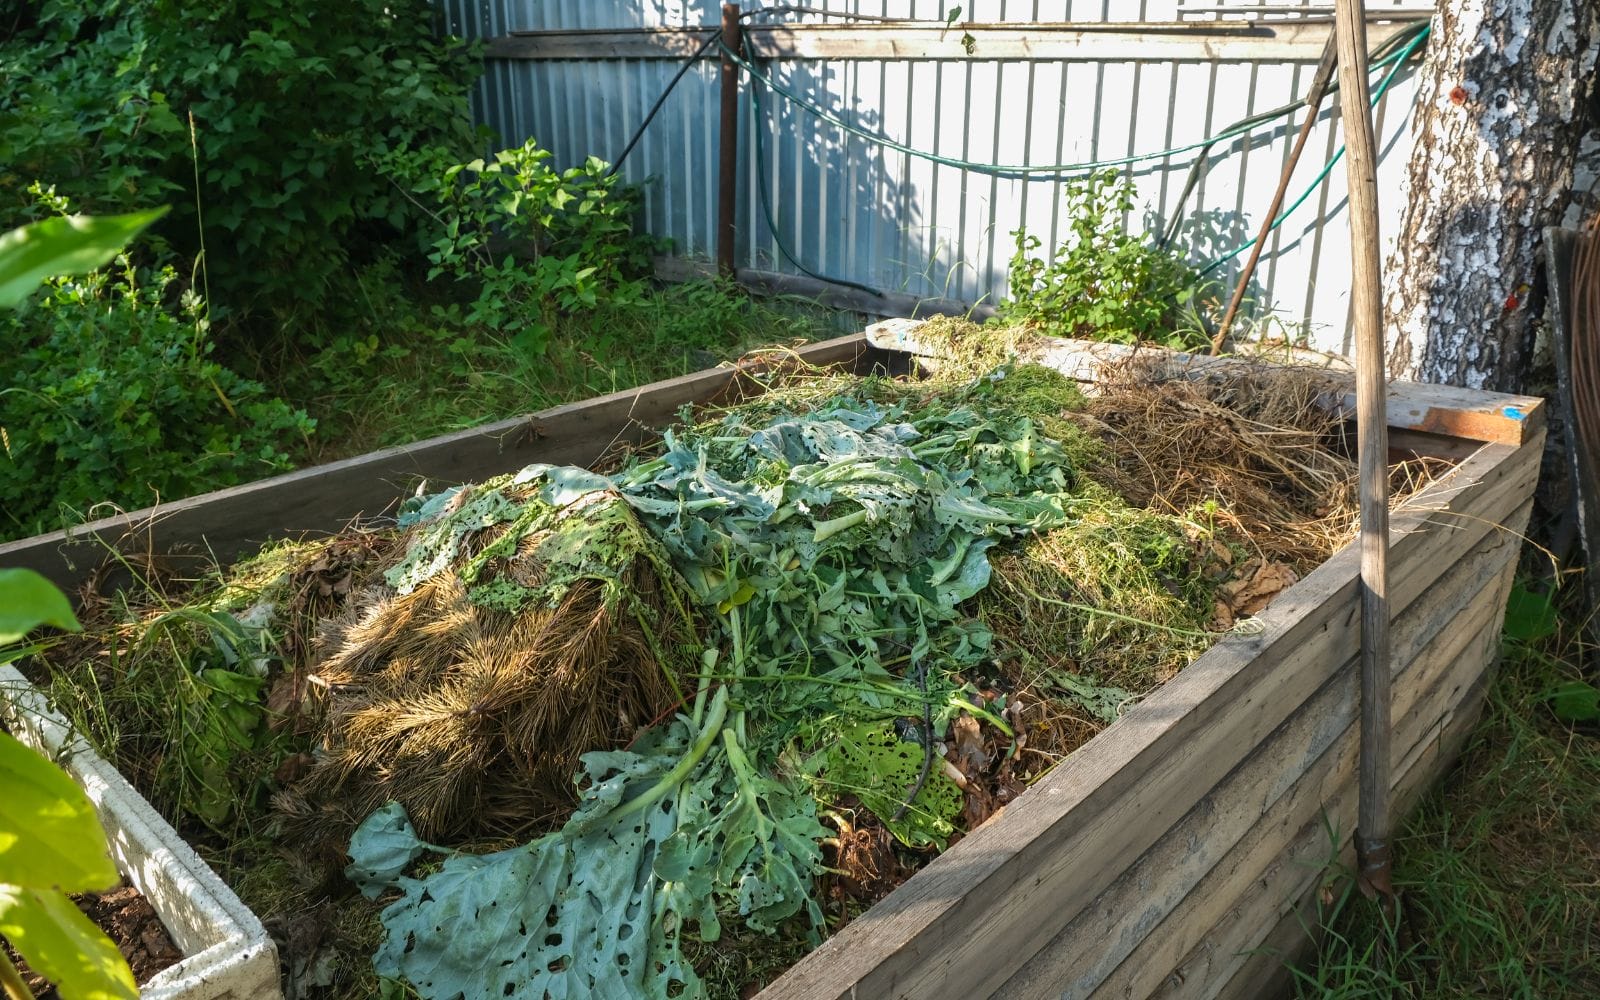
The open bin composting needs you to build some type of enclosure to contain your organic waste materials. It is easy to create as you don’t need to dig anything.
The three-bin open compost system is widely used. In it, three different compartments are made where the first bin contains the organic waste that you plan to compost.
Once you get enough organic waste collected you move it to the second bin where it starts to decompose. The first bin again gets ready to receive a new batch of organic waste. Once your compost is available, you move it to the third bin.
Open bin composting is useful for any temperature-controlled composting such as hold or cold composting. The full open space makes it easier to hold more organic waste and move or turn the waste for air passing.
Tumbler Composting
One of the critical processes of organic composting is airflow. The good airflow increases the flow of oxygen into the compost and microorganisms thrive on speeding up the composting process.
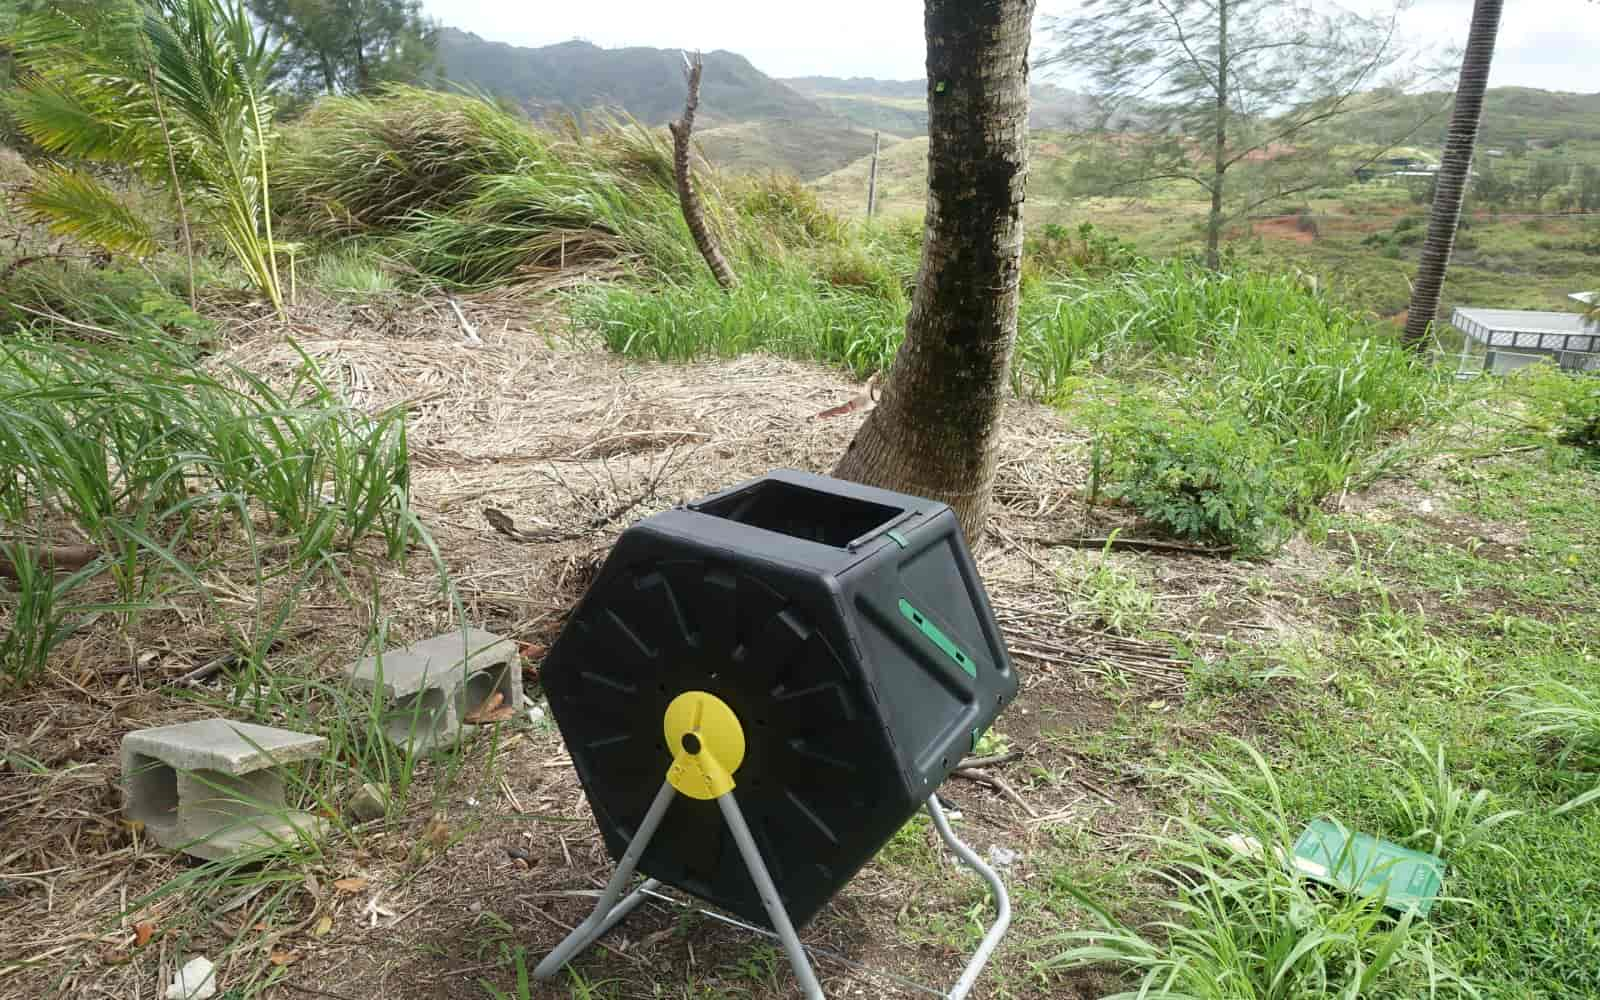
But it needs a lot of physical labor and works to lift and move these organic wastes. Tumbler needs less physical work to move it around, and its closed bin structure allows you to keep decomposing waste out of sight.
Tumblers are lightweight and robust drums made from plastics and mounted on supporting bars with a handle to turn them around. It is suitable for cold composting as it is difficult to main the high temperature needed for hot composting.
Worm Composting
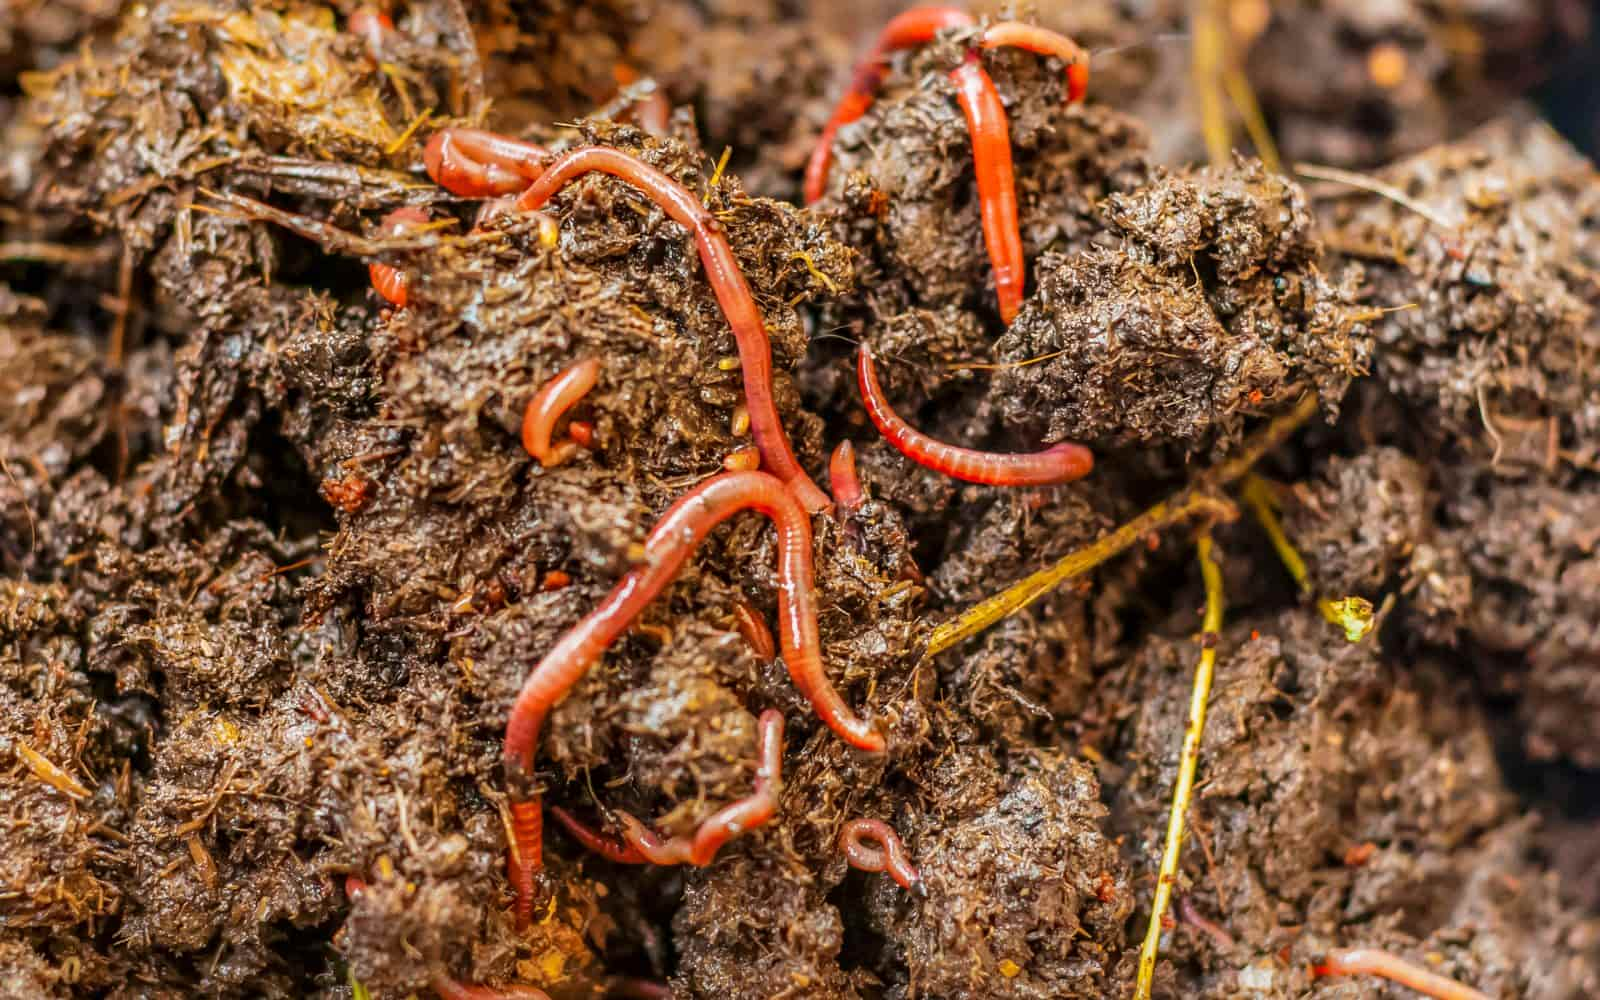
If you are planning to do Vermicomposting then you need to have access to worms. Most of the time ground contains natural worms to help you with the composting process.
Eisenia Foetida (Red Worms) is the best worm for Vermicomposting. It is an efficient eater and will eat the organic waste and excrete its own weight every day.
These worms are mostly found in the livestock manure which generates enough warmth and nutrients to keep them alive. You may get it from suppliers of compositing services or municipalities.
Make sure to get the Red worm as other worms will not be good for Vermicomposting. For worm composting, you use moistened bedding materials and bury your organic waste under them.
For bedding cover, you may use dead leaves, shredded papers, or straw. It is beneficial as you can do worm composting in small spaces and indoors. Keep the fruit flies away from waste by covering the debris.
Composting Bins
There are several different types of compost bins based on the design and the amount of organic waste you will be composting.
Compost bins work by holding the organic waste and helping retain the heat in the compost pile. Building your own compost bin is fun and some common types of compost bins are:
Stone Bin
A Stone bin is a permanent structure where bricks or stone are used to make the three-sided enclosure. Some gap is left between the rocks to let the air pass. One side is kept open for easy access to the bin.
Trash Can Bin
You can make homemade trash can bin by cutting side holes in the trash can. This helps with the proper airflow. Then dig a hole in the ground to half bury your trash can.
The partial burying of the trash can will let worms in the soil enter into the trash can and also makes it easier to process the compost.
Wire Bins
Wire bins are circular fences held together by rope or welding. These are the small-size fences for a small amount of compost. The wire keeps the air flowing and also does not let the garbage fall and spread around.
Wood Pallet Bin
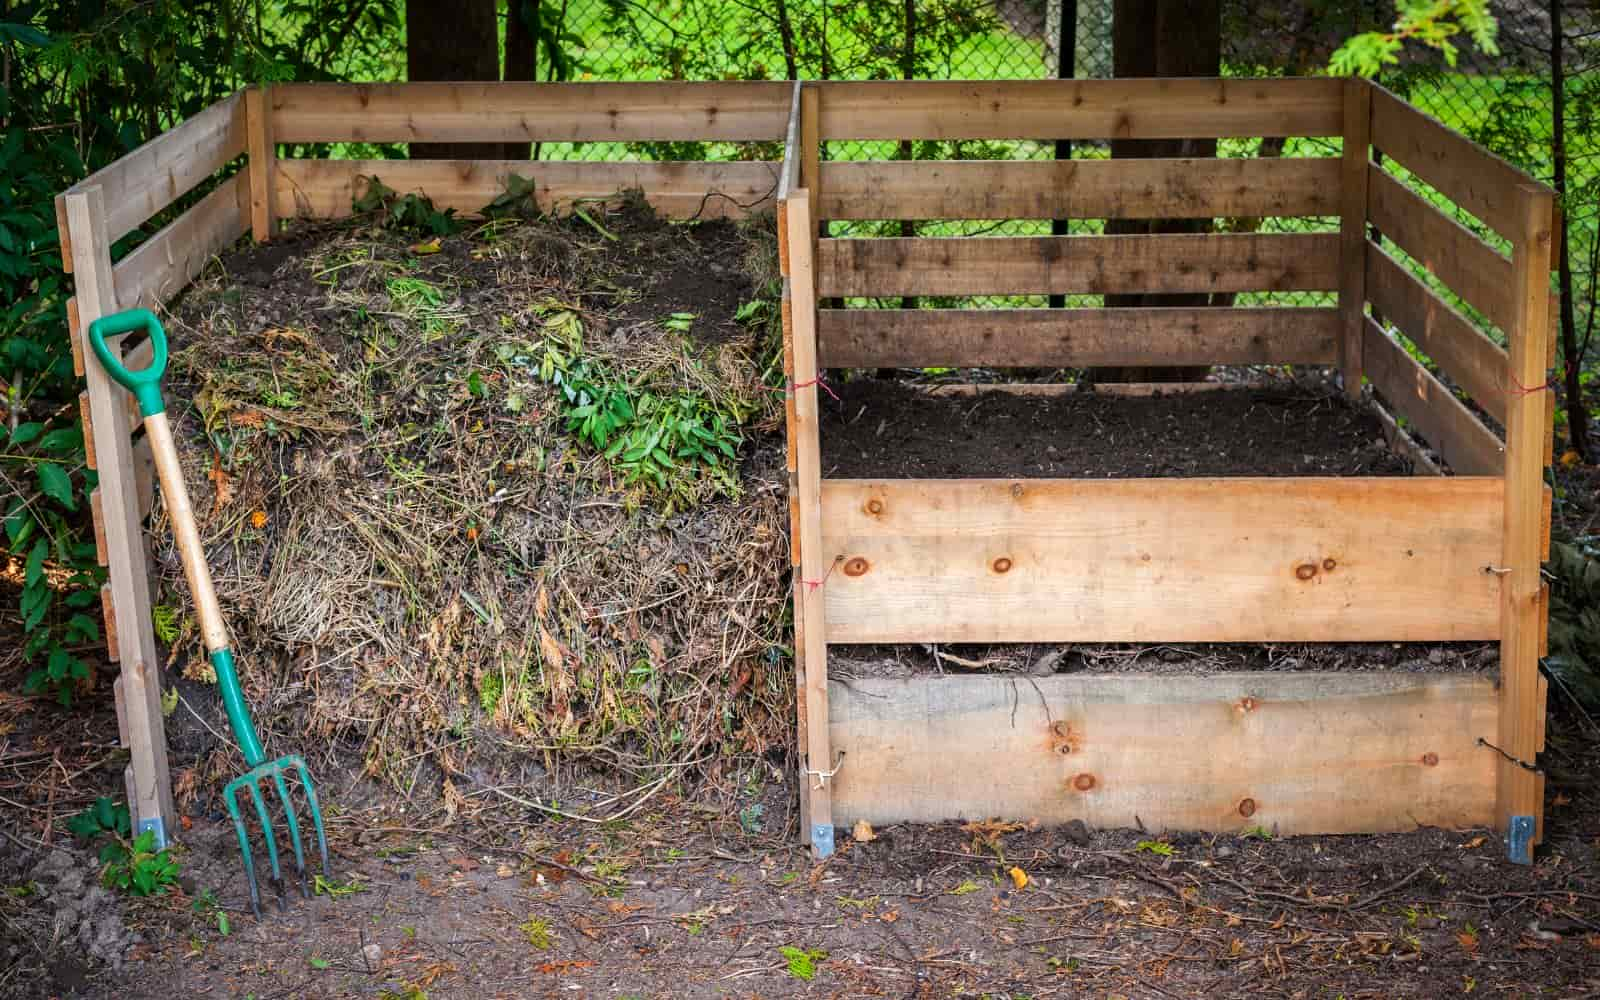
Wood pallet bins are small enclosures made from wood. It is closed from all four sides, and the bottom and top are kept open for access to the compost.
A temporary cover can also be used to cover the head from rain or keep the garbage out of sight. It is easier to make from discarded wooden pallets, or you can buy it from home hardware stores.
Plastic Compost Bin
There are various sizes of backyard compost bins you can buy from retailers. Most of these compost bins have large top flaps which provide you easy access to compost.
The top secured cover prevents rodents from getting into compost and keeps the compost out of sight.
How to Start Composting at Home
For the best composting results, you should plan and structure your composting. When you are ready to compost, follow this five-step process to compost the right way.
Step 1: Find a location for compost
You need first to decide the location where you want to put the compost bin. This could be either an indoor or outdoor location. Pick an isolated location that is out of sight as you do not want to keep looking at degrading organic waste or be close enough to smell it.
For indoor composting, I recommend basement or balconies (for apartments) for composting locations. For the composting process, try to get into a tight lid or worm composting for smaller indoor areas.
But if you have ample open space, then you can do open composting. For a large garden, stockpile all the dead leaves and plant branches at one spot. Dead leaves are a good source of carbon to your organic composting process.
You build an enclosure from the wood pallets with a wire mesh fence around it. It does not matter the shape of the wooden cabinet but maintains the size to be at least 4 feet high and wide. Don’t forget to put a cover on top of it to protect it from rain as we do not want too much water in the compost.
Put your composter in a location that will receive full sun. The heat from the sun will accelerate the decomposition process. A dark plastic cover on a homemade compost pile will also hold the heat.
Step 2: Maintain Brown to Green Ratio
A good brown to green ratio is required to get high-quality compost. If you do not have diverse organic waste, then wait till you have enough.
But maintaining good carbon to nitrogen is essential to get high-quality compost. Many people get this step wrong and then wonder about the poor quality of compost.
You will know that you do not have a good ratio when your compost pile looks too wet and you get a bad smell from it. If you have a problem like that then you can add more carbon items such as plant leaves, and branches.
The best way to get the proper ratio is to use around six buckets of shredded leaves and spread them out to create a brown layer. For a second layer add one bucket of green items such as the grass layer before repeating the brown coat again.
To speed up the natural breakdown, chop or shred any material you add to your composter. Do not put weeds or diseased plant material in the composter.
Step 3: Mix the compost
Every few days, or after each new addition, mix the pile with a shovel. This adds air to the compost and helps cut odor. Use a compost thermometer to check the temperature of compost which should be between 130 to 150 degrees Fahrenheit.
Step 4: Water up
You should keep the compost pile at a moisturized level. You don’t want to drench your compost in water, but you also don’t want it to get too dry. Using a garden hose, spray a little bit of water on top of it to moisten it.
Step 5: Control the elements
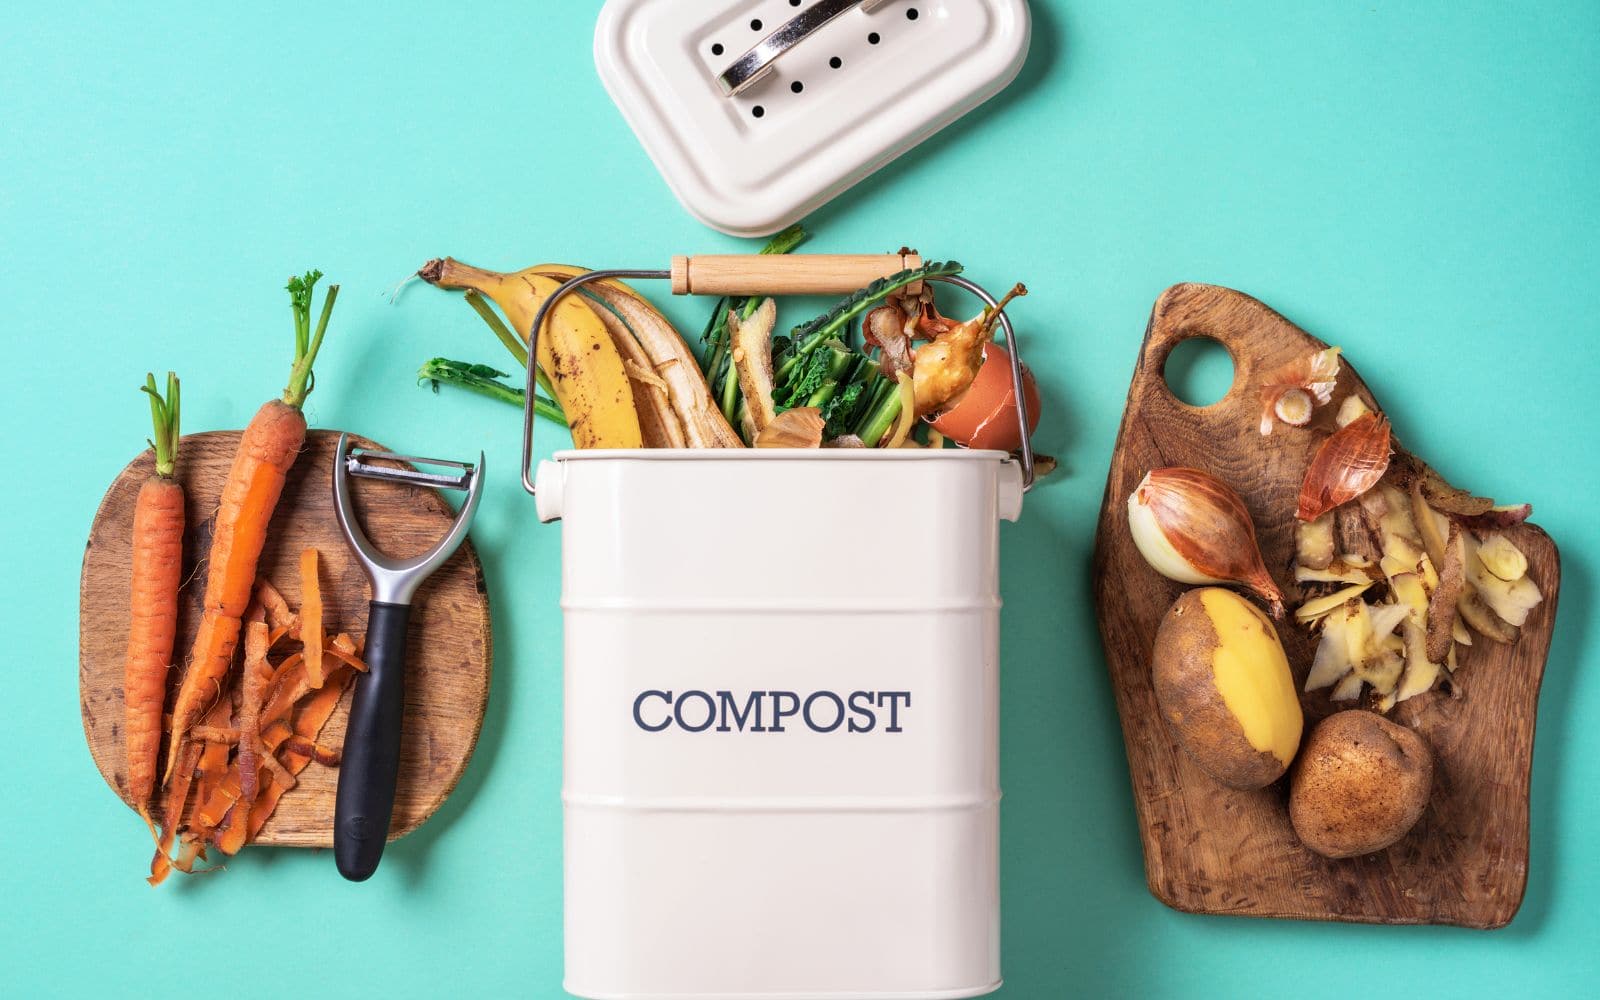
You are close to getting ready to be done with your organic compost. But before you get into the waiting game, make sure the elements of composting, air, water, temperature, carbon, and nitrogen is in order.
Here is the checklist:
Keep the optimal air circulation – Microbes need to get the oxygen to start the composting process.
Maintain moist conditions – Keep some drainage from compost to remove excess water.
Control the temperature – To keep the microbes alive and remain on the job. Putting enough compost heap amounts will self-maintain the required temperature level.
Carbon and Nitrogen – You do not have to do much here as your compost layer should already have the right mixture of carbon to nitrogen ratio. But feel free to add some extra carbon such as dry leaves, compost tea to give microbes some extra push.
Your compost will be ready to spread if it slightly clumps when you squeeze it. When it is ready to use, bring it out from the compost bin and spread it in your garden.
Composting Problems and Solutions
It is inevitable that during the composting process, you will encounter some problems. For your easy reference, we are listing here common compost problems and their solutions.
| Problem | Cause | Solution |
|---|---|---|
| Ammonia Smell | Too much nitrogen | Mix in “browns” such as dry leaves Turn pile and top with soil |
| Rotten egg smell | Not enough air | Turn on aerate piles regularly Add dry materials in layers to help circulate air |
| Pile is damp; the middle is not hot | The pile is too small | Collect more compostable material; mix into the existing pile |
| Nothing is happening | – Lack of nitrogen – A material size too large – The pile may be too dry | – Add nitrogen-rich “greens” such as grass clippings and veggie scraps – Cut up the kitchen waste more finely Add moisture and turn the pile |
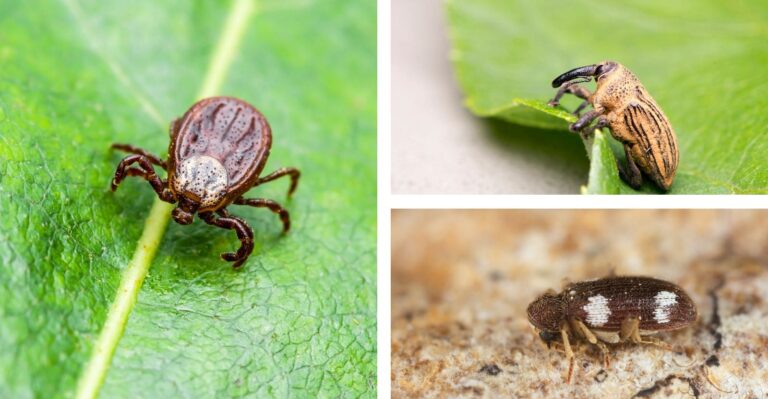
| Insect or animal pests | – Odour is attracting pests – Wrong material added | – Cover pile with leaves, straw, and soil after adding food waste – Don’t compost meat, fish, bones, dairy, or oils |
Composting 101 Conclusion
Composting is certainly not an easy job as it requires lots of work and planning to get a good quality of compost. But if you have a garden, then it is more likely you will also have a lot of organic garbage.
Composting will provide you with a place to discard your garden waste. And you’ll be creating a natural, nutrient-rich soil amendment. It takes about six months to a full year before the compost is ready to be spread in the garden.
Once ready, you can spread compost on your vegetable and flower garden at any time. It will be more beneficial if you spread it in spring when you are getting prepared for gardening and planting season.
I hope that this composting 101 guide will have a tremendous benefit to you. I will appreciate it if you share it with your family and friends, so they also get the same advantage. For any questions or suggestions, write it in the comment below.
Don’t forget to share this post
