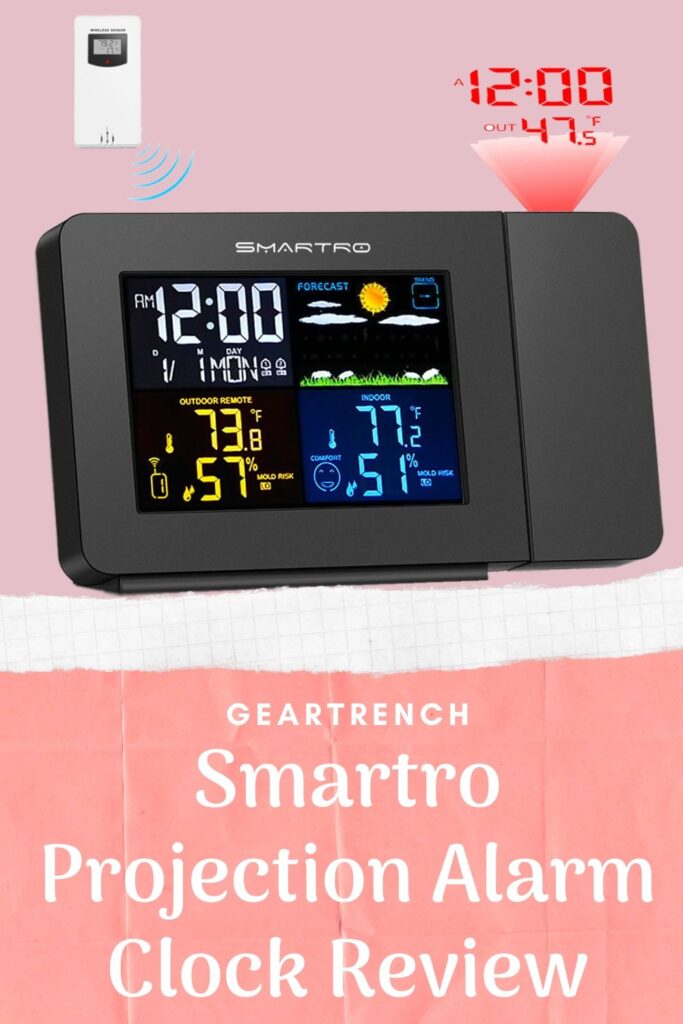
Amazon has put together some great Home Gift Deals – save money and get your shopping done at the comfort of your home! Click here to see deals on Amazon
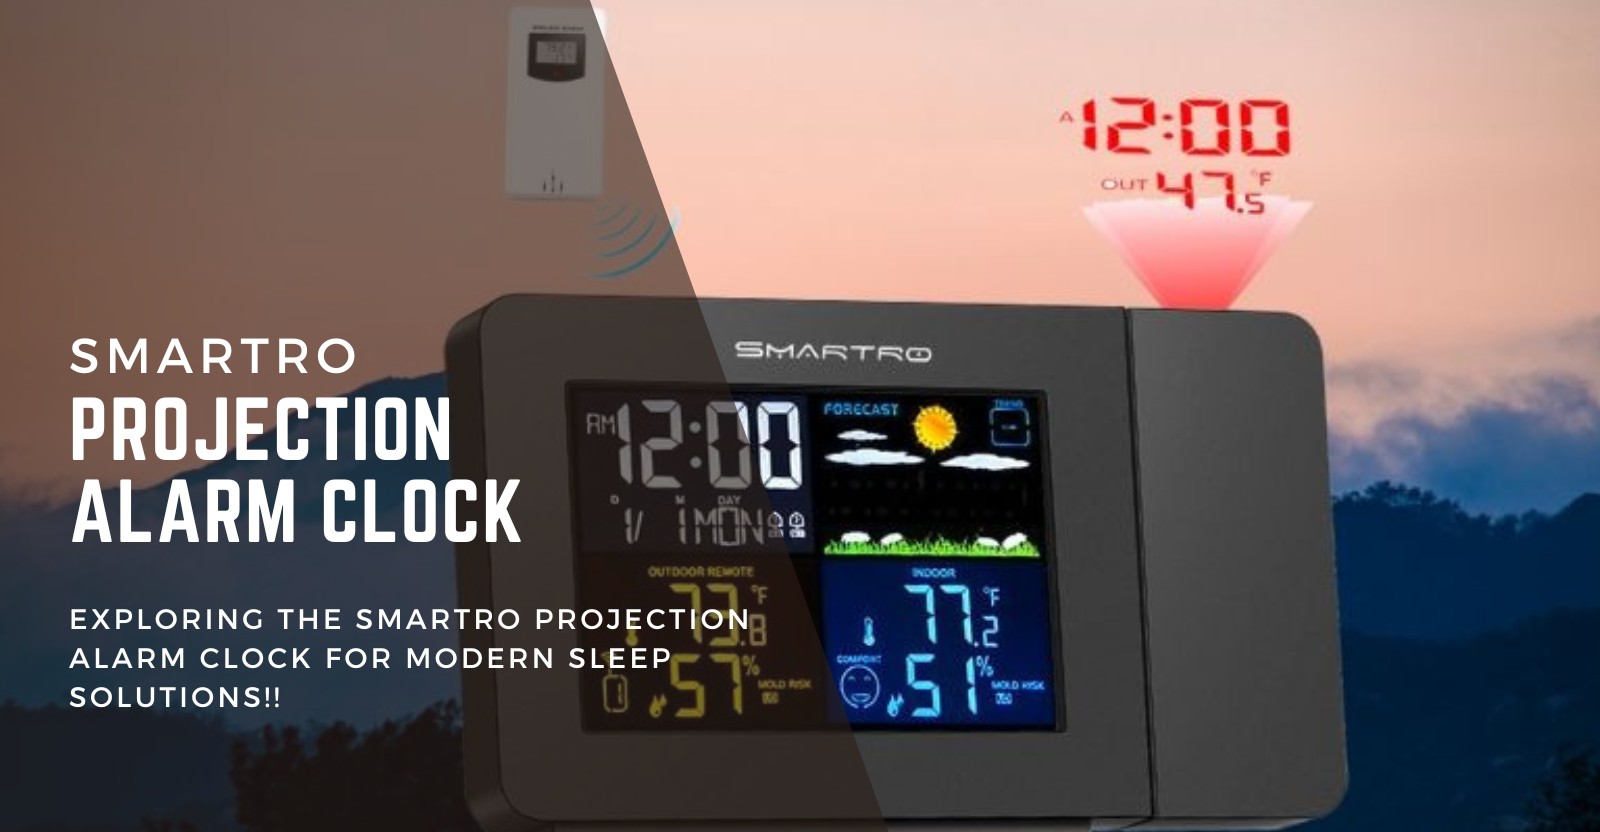
Smartro projection clock with outdoor and an indoor thermometer isn’t the fanciest, biggest, projection clock that you can buy. Still, it offers a nice compromise between the functionality and price that most of us can appreciate.
Disclaimer: Smartro provided SC91 Weather Station for review.
Multiple manufacturers provide a projection alarm clock with a weather station.
A lot of people recommend Smartro, and it packs quite the punch.
You can use it for time, indoor/outdoor temperature, humidity, weather forecasts, and has dual alarms clock. That sounds great, but the main crux lies in the implementation of these features.
Is Smartro digital projection alarm clock the best projection clock to buy?
Let’s take it step by step in our Smartro digital projection clock review.

Who makes Smartro Projection Clock?
Smartro is a small company that provides many home products. They have product lineups related to food thermometers, outdoor thermometers, ear and forehead thermometers, blood pressure monitors, and remote sensors.
What’s in the Smartro Weather Projection Clock Box?
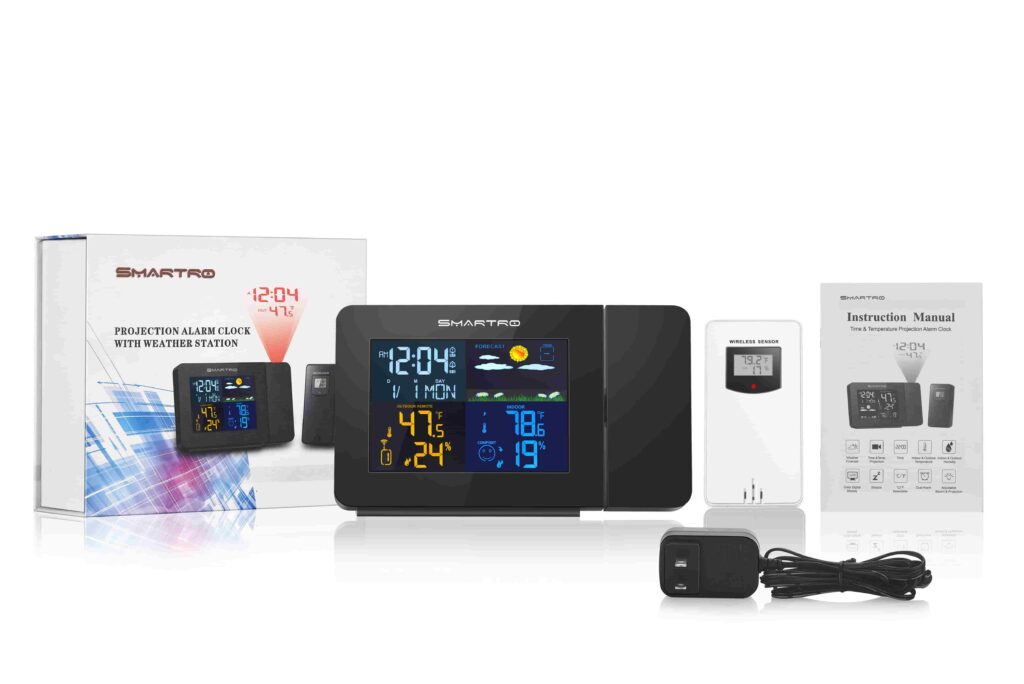
Smartro unit comes in a lovely packaged box. You don’t need scissors or any tool to open the box as it has a convenient side flip box that has items safely packed inside it.
I received the unit in a well-wrapped package, so the item arrived undamaged. Inside the box had the following contents:
- Alarm clocks (with battery)
- Instruction manual
- DC power adapter
- Wireless remote sensor
All items came wrapped in plastic wrap, and the screen had scratched protecting thin plastic film.
Smartro Projection Clock And Weather Station Review
Let’s get into the ins and outs of this projection clock, and should you get it for your home?
Weather Projection Clock User Interface
The Smartro weather projection clock interface is seamless and beautiful.
It has a colored 4.5-inch LCD screen with a backlit display divided into four different sections. The big and easy-to-read display tells you the time, date, day, weather forecast, outdoor and indoor temperature plus humidity.
At a first glance, it may seem cluttered and hard to get information. But I looked it a couple of times, and it became very intuitive. The screen is bright and easy to read. Even when you view it from an angle, there is no distortion in the numbers.
The projector has a large bezel and is attached to the left side of the main unit. You can move it up and down to set the projection angle. The projection can be reversed by 180 degrees for optimal viewing.
The weather station is very stable and doesn’t wobble when placed on a flat surface. The projection is comfortable to adjust and holds its position at the set angle.
Smartro Digital Projector Clock Features
Smartro SC91 digital projection alarm clock comes with lots of features that make it a multi-functional unit to be kept in the bedroom. It’s an average size unit that measures 6.6 x 3.9 inches and is very lightweight.
You can place it anywhere in the bedroom without worrying about the space requirement. Here are features in the projection clock.
- Projects time and temperature onto a wall or ceiling
- Two-alarm times with snooze function
- Calendar (up to the year 2099)
- Time format in 12/24 hr
- Adjustable brightness of backlit and projection
- Indoor and outdoor humidity sensor (19% RH to 96% RH)
- Indoor Temperature (Range 15°F (-9.9°C) to 122°F (50°C)
- Outdoor temperature (Range -40°F (-40°C) to 158°F (70°C)
- Minimum/maximum display for air humidity and temperature
- Outdoor dew point temperature and heat index query
- Weather forecast function
- 7 Language on Weekdays selectable (English, German, Italian, French, Spanish, Dutch and Danish)
Time And Temperature Projection
The projector is sturdy but smooth to move up and down. When the projector faces upward, it appears to be a single unit and the best position to leave the projector when not in use.
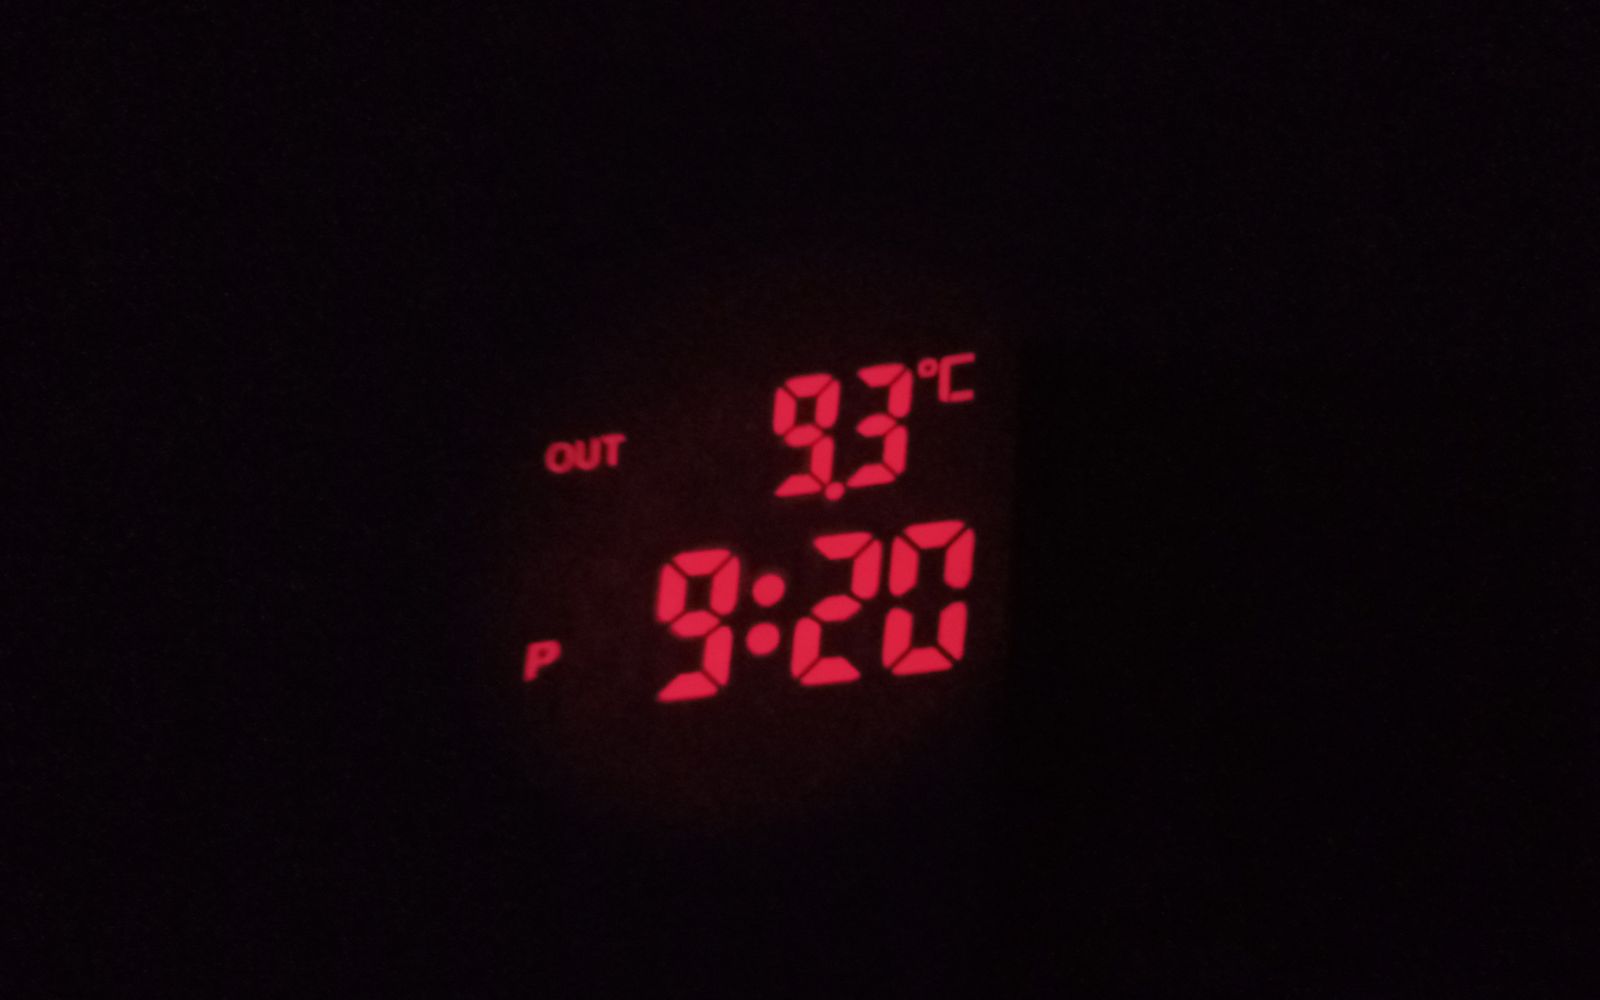
The projection is sharp and crisp, and there is no fuzziness or unreadable number on the screening. It has a soft but bright red-light projection. The recommended projection distance is 3.3 to 9.8 feet (1 to 3 meters). I find it to have enough coverage area even for a large size bedroom.
I placed the projector in the living room to test how far it can go without becoming unreadable, and I could read it even with a 60-watt bulb lit directly above it.
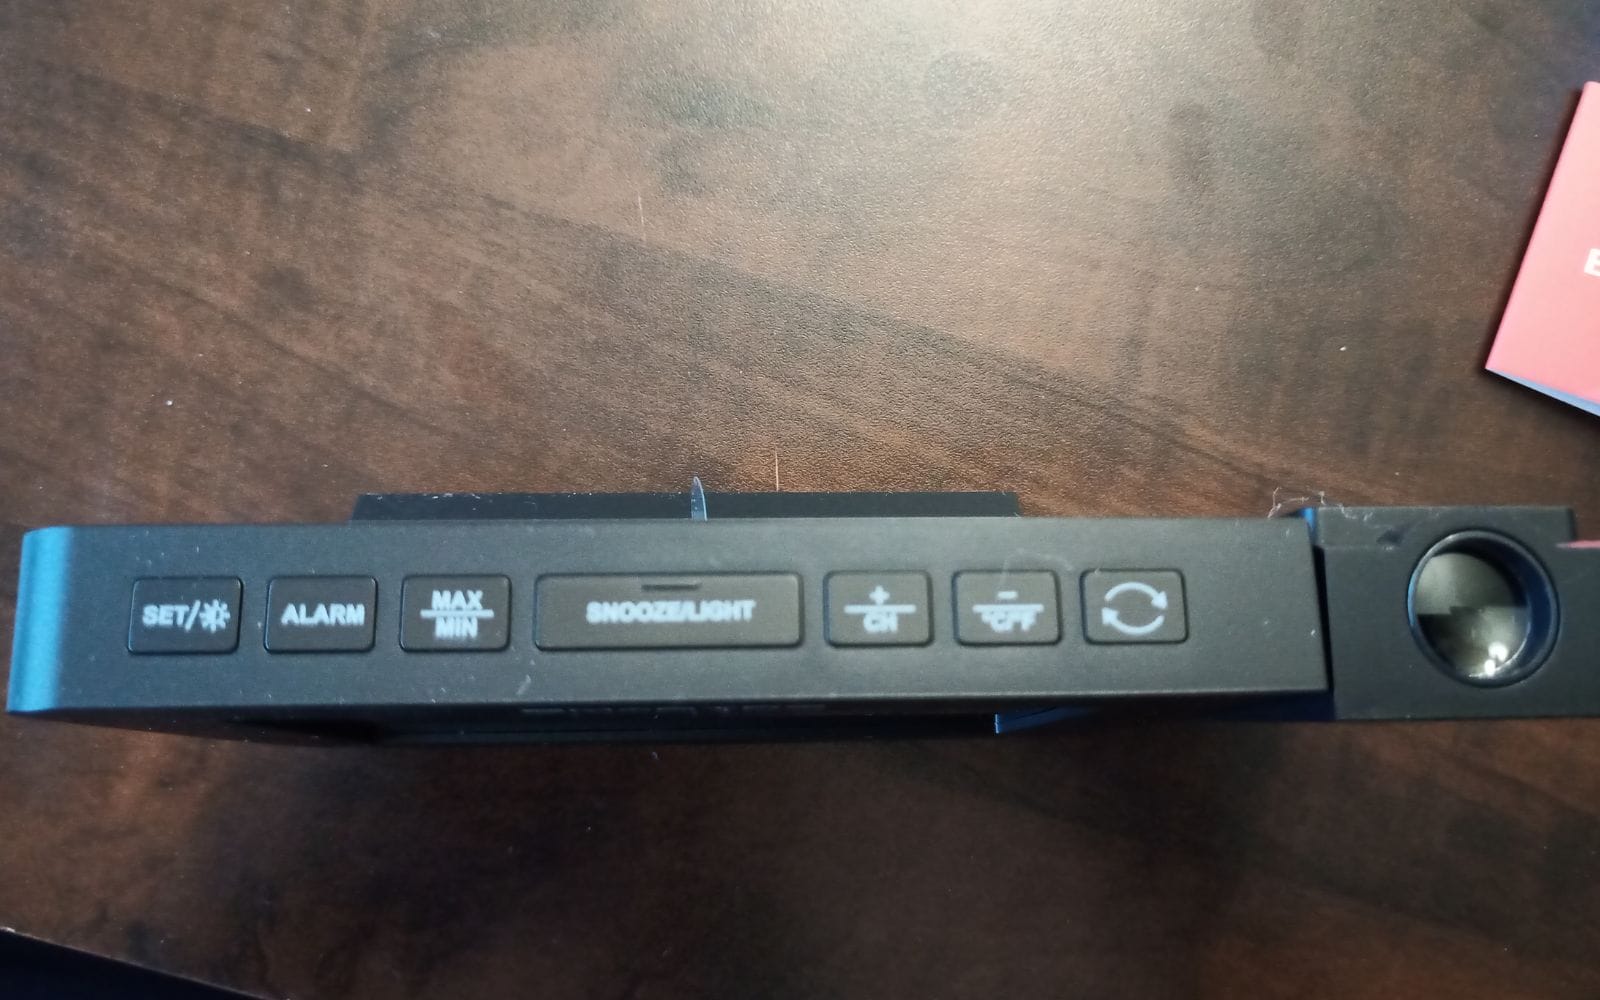
You can also switch the brightness from high to low and vice versa. You get a projection of time and indoor/outdoor temperature. The temperature for indoor and outdoor changes automatically in a 5 seconds interval.
You can turn the projection off by moving the switch to the “OFF” position at the backside of the unit. You can still temporarily turn on the screening by pressing the SNOOZE/LIGHT button at the top to light up the projection for 15 seconds.
It’s a convenient feature as you don’t have to fiddle the switch at the backside in the dark if you had the projection turned off. Moreover, the projection alarm clock displays time on the ceiling, so you don’t have to turn your head to look at the clock.
Indoor Temperature
The unit displays the indoor and outdoor temperatures in both Fahrenheit (°F) and Celsius (°C). It’s an excellent design choice since not everyone follows the single universal temperature reading.
For example, if you’re in the United States, you may prefer the temperature display in Fahrenheit, whereas if you’re in Canada, then Celsius may be the more preferred option.
There is a button on top of the unit that allows you to switch between the individual modes. I chose Celsius, and it worked perfectly without any issue.
The indoor temperature reading was quite accurate. I compared the readings with another indoor thermometer, and the difference between both thermometers was less than one-degree celsius. It was a reasonable temperature variance for a residential thermometer.
However, make sure to keep the unit away from the heat source such as near-heating vents, high-powered bulbs, or a fireplace so as not to get an artificially skewed temperature.
Outdoor Temperature With Wireless Sensor
The outdoor temperature reading gets its feed from the outdoor sensor. I received a single wireless sensor that required two AA batteries (batteries not included). You can connect up to 3 different sensors to pair with the same base unit.
You could pair the outdoor remote sensor with a base unit by pressing the button under the cover of the remote sensor. When the unit is paired, it shows the animation of the RF antenna symbol.
Depending on the number of sensors (max 3), it shows CH1, CH2, CH3 that automatically switches every 5 seconds.
The range of the wireless sensor is up to 200 ft/60 m in the open transmitting range. There is a display on the sensor that indicates the temperature and humidity. You can place the sensor where you need to know the temperature, such as in the backyard.
You don’t have to go inside to look at the outdoor temperature on the base unit as it displays that information directly on the sensor. There is also a battery indicator that turns red when it becomes time to change the batteries.
The operating outdoor sensor temperature range is from -40°F(-40°C ) to 158°F (70°C).
When the outdoor temperature is between 30.2°F (-1°C ) to 37.3°F (-2.9°C the weather station.
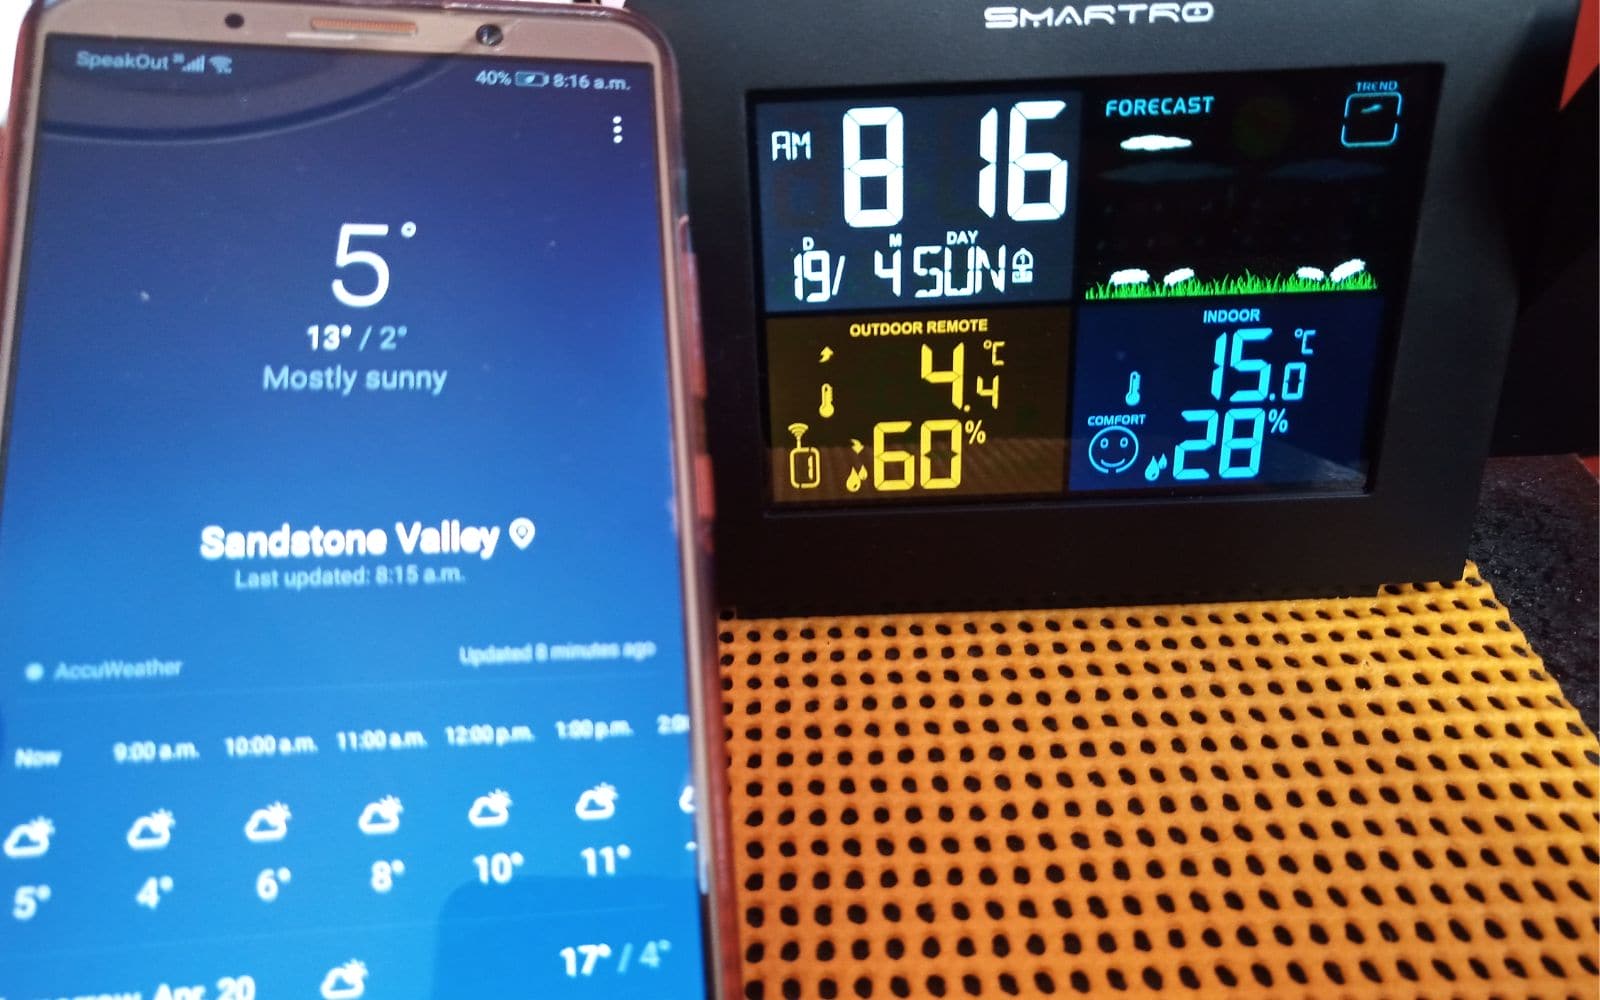
I checked the outdoor temperature with the temperature on my smartphone, and it was very close with a less than a degree variance. I haven’t tested how long the batteries last in the outdoor sensor, but people have reported to last up to 6 months.
Indoor/Outdoor Humidity
The unit displays indoor/outdoor humidity in big, bold numbers. You can toggle the max/min button to check the sensors’ maximum and minimum readings. You can reset the reading by pressing and holding the max/min button for 2 seconds.
It’s useful to track how the temperature and humidity levels are progressing. Some people may be interested in that information, but for me, I didn’t use it much personally.
If the temperature goes above or below its operating range for both indoor and outdoor sensors, then it displays LLL for below temperature and HHH for high temperature.
Color Weather Station Forecast
The weather station forecast is animated and displays the trend with an arrow. It calculates the weather forecast for the next 12 hours based on the barometric pressure trend.
Now take the forecast as a general indicator as it can’t match the sophistication provided by the professional weather services. But I found it to be relatively accurate.
The animated screen shows six types of forecasts, such as sunny, slightly cloudy, cloudy, rainy, heavy rains, and snowy.
When I was testing the unit, there was a forecasted snowfall on the weather network. I checked the weather station, and it indicated snow on display. It was entirely accurate with the forecasted trend.

Dual Alarm With Snooze Function
You can manually set two alarm that repeats for weekdays (M-F) and weekends (S-S). You can activate the alarm by turning the switch “ON” at the backside of the unit. You get the display of a bell on the screen, indicating which alarm is turned on.
The alarm volume is loud and has a single pulsating beep tone. It’s very basic but gets works done as it’s loud enough to wake you up from a deep sleep.
If you’re not ready to wake up, you can hit the snooze button. You can set the snooze time between 5 and 60 minutes.
The alarm automatically turns off after 2 minutes of ringing. It will repeat itself the next day at the same time unless turned off.
Read More: How Long Do Orchids Live (Secrets to Success)
Adjustable Backlit And Projection
The weather station is powered by a DC power adapter that comes with the unit. It also includes a battery backup, but that’s not for the operation but used as a backup to save settings.
For example, if you unplug the DC power adapter, you won’t lose all your settings. It’s a nice feature to have as it saves you the frustration of setting up everything from the beginning in case of a power trip or if you need to move the unit to somewhere else.
You can also adjust the four different levels of screen brightness of backlight from high, medium, low, and out.
The display is bright enough to see it clearly in the daylight. I like the functionality to dim or turn it off at night-time so as not to disturb your sleep.
If you have the brightness turned off at night, you can hit the snooze/light button at the top of the unit to light up the backlight for 15 seconds.
How to set the alarm on Smartro projection clock
Before you attempt to set the dual alarm on the clock, make sure the alarm switch at the back of the unit is “ON”. You can press the alarm button at the top to display the alarm time for Alarm 1 or Alarm 2.
When you’re ready to set the alarm, press and hold the alarm button for more than 3 seconds, and the time will start flashing. You can change the flashing hour by pressing +/CH or -/CH and the same for the minutes. You can hit the Alarm button to confirm the settings.
Here is the dual alarm repeat setting:
M-F: The alarm function activated from Monday to Friday
S-S: The alarm function activated on Saturday and Sunday
M-F and S-S: The alarm function is activated throughout the week.
How to change time on Smartro clock
To set the time on Smartro clock, press and hold the SET button at the top for more than 3 seconds. You will see the 12 Hr/24Hr display start to flash. You can use the +/CH and -/CH buttons to set the time format from 12 to 24 hours.
Press the SET button again, and the hour display starts to flash. You can then use the +/CH and -/CH buttons to cycle through the time. When you press the SET button again, the next digit starts to flash. Use the same process to change the minute.
You can also change the date/month and day of the week through the same setting. It may sound overwhelming, but it’s very intuitive and easy to understand. You can set the day in 7 different languages.
You can download Smartro SC91 User Manual to change settings.
Things that can be improved in Smartro
Smartro SC91 is a useful weather station that works as promised. However, some quirks can be addressed to make it more helpful to users.
- Projection clock: The projector only moves up and down. It makes it hard to adjust the angle, whether projected on the wall or roof. The ability to rotate a little bit left and right corner may give more flexibility to align the projection angle without turning the unit itself.
- Limited Alarm tone: There is only a single tone available for the digital projection alarm clock, and it’s simple beep sound. Having some alternatives tones may be a great addition to the alarm clock functionality.
- Can’t control alarm volume
- No atomic time sync ability
- No daylight time change functionality
- No projection clock radio
- No USB charging
- The remote sensor doesn’t come with the batteries
Final Thought: Should you buy a Smartro projection clock?
The simple answer is, “yes.”
It’s a great weather station with tons of functionality. The professional-grade thermometer is highly accurate and detects whenever there is a change in the temperature.
The LCD screen display is well lit and comfortable to view as well as the projection on the ceiling or wall. The alarm clock volume and tone are fixed, but it’s loud enough to wake even a heavy sleeper.
The overall black design of the unit makes it fit any interior decorations and may not look to be outpaced.
The Smartro digital projection alarm clock with thermometer manual is detailed enough for even a non-tech-savvy person to get started in a few minutes. Smartro digital projection alarm clock with weather station is worth a shot.
Don’t forget to share this post